Stretching Watercolour Paper
Disclosure: some of the links to the products I use and love below are affiliate links meaning, at no additional cost to you, I will earn a small commission if you click through and make a purchase. It helps support me to keep this website running. Thank you for your support.
I have tried many, many different ways to stretch my watercolour paper... I have even been known to be stood in the bath with my paper, water up to my ankles, paper floating in front of me, trying to work out how on earth people fit in the time to stretch their paper in such a manner every time they start a new painting.
Who knows where I found the tip to stretch it in the bath, some blog post I imagine… *eye roll*. It’s actually really simple, and no baths are involved. And, it really does make a huge difference to the entire process of painting.
Over the last 10 years I feel I have now mastered the technique that works every time for me, so I thought it was about time I shared it with you...
So, why do I stretch my paper?
When water meets watercolour paper, all the lovely fibres that make up the paper expand. This causes the paper to ‘grow’ and buckle in the places in contact with water. Not only does this make the surface difficult (sometimes impossible) to paint on, but sometimes the paper doesn’t quite return to it’s normal shape afterwards - not ideal.
When we stretch our paper, we are essentially expanding all those fibres intentionally then taping the paper down when expanded. When the fibres contract, they contract against force and the result is a drum-tight piece of paper. When you apply watercolour washes to your painting, the fibres expand but don’t buckle to such a degree and you are left with a smooth, tight surface to work on the entire time, even when applying a lot of water and paint!
Is it always necessary to stretch watercolour paper?
No, not always. If you are using a very heavy paper (heavier than 300gms), then you may find you don’t need to, because it doesn’t buckle with washes due to it’s thickness. Similarly, if you only plan to use a dry brush technique, and are not applying areas of wet washes, then you may also not need to stretch your paper. Based on the above, I stretch my watercolour paper every time.
What materials do I need?
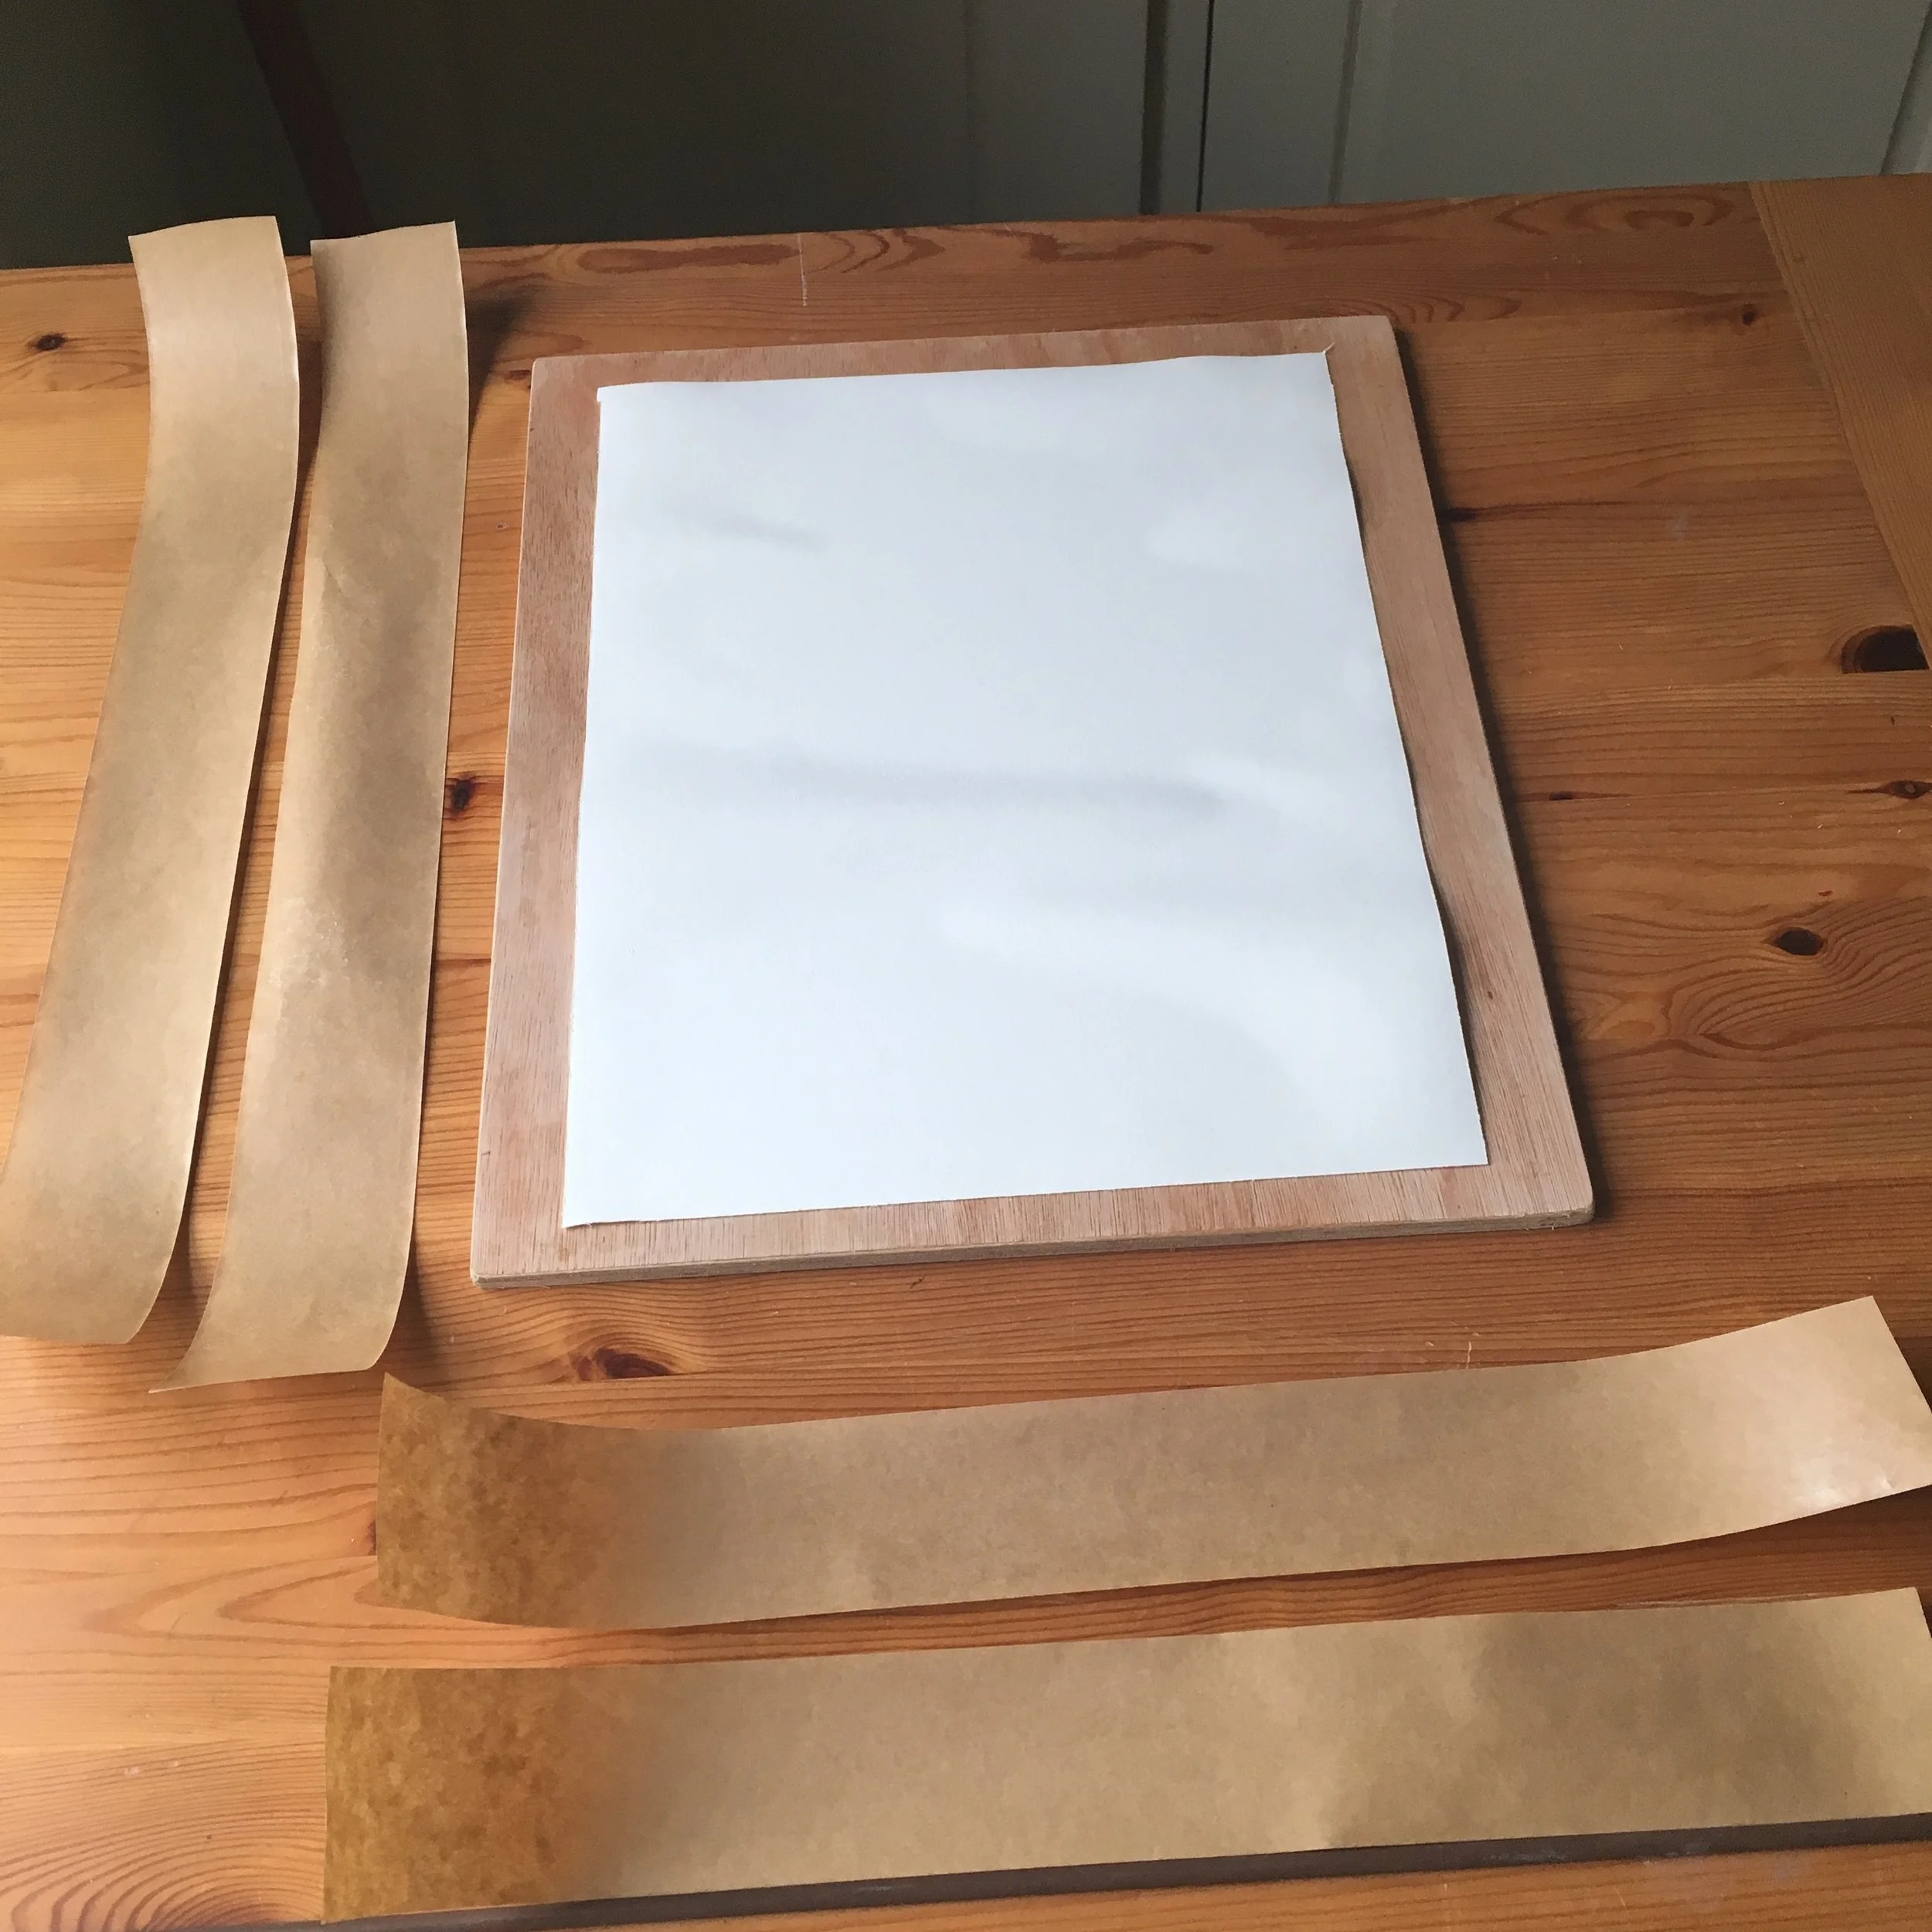
Watercolour paper, cut to size. I have been using Arches 300gsm Hot Pressed Paper for years, now.
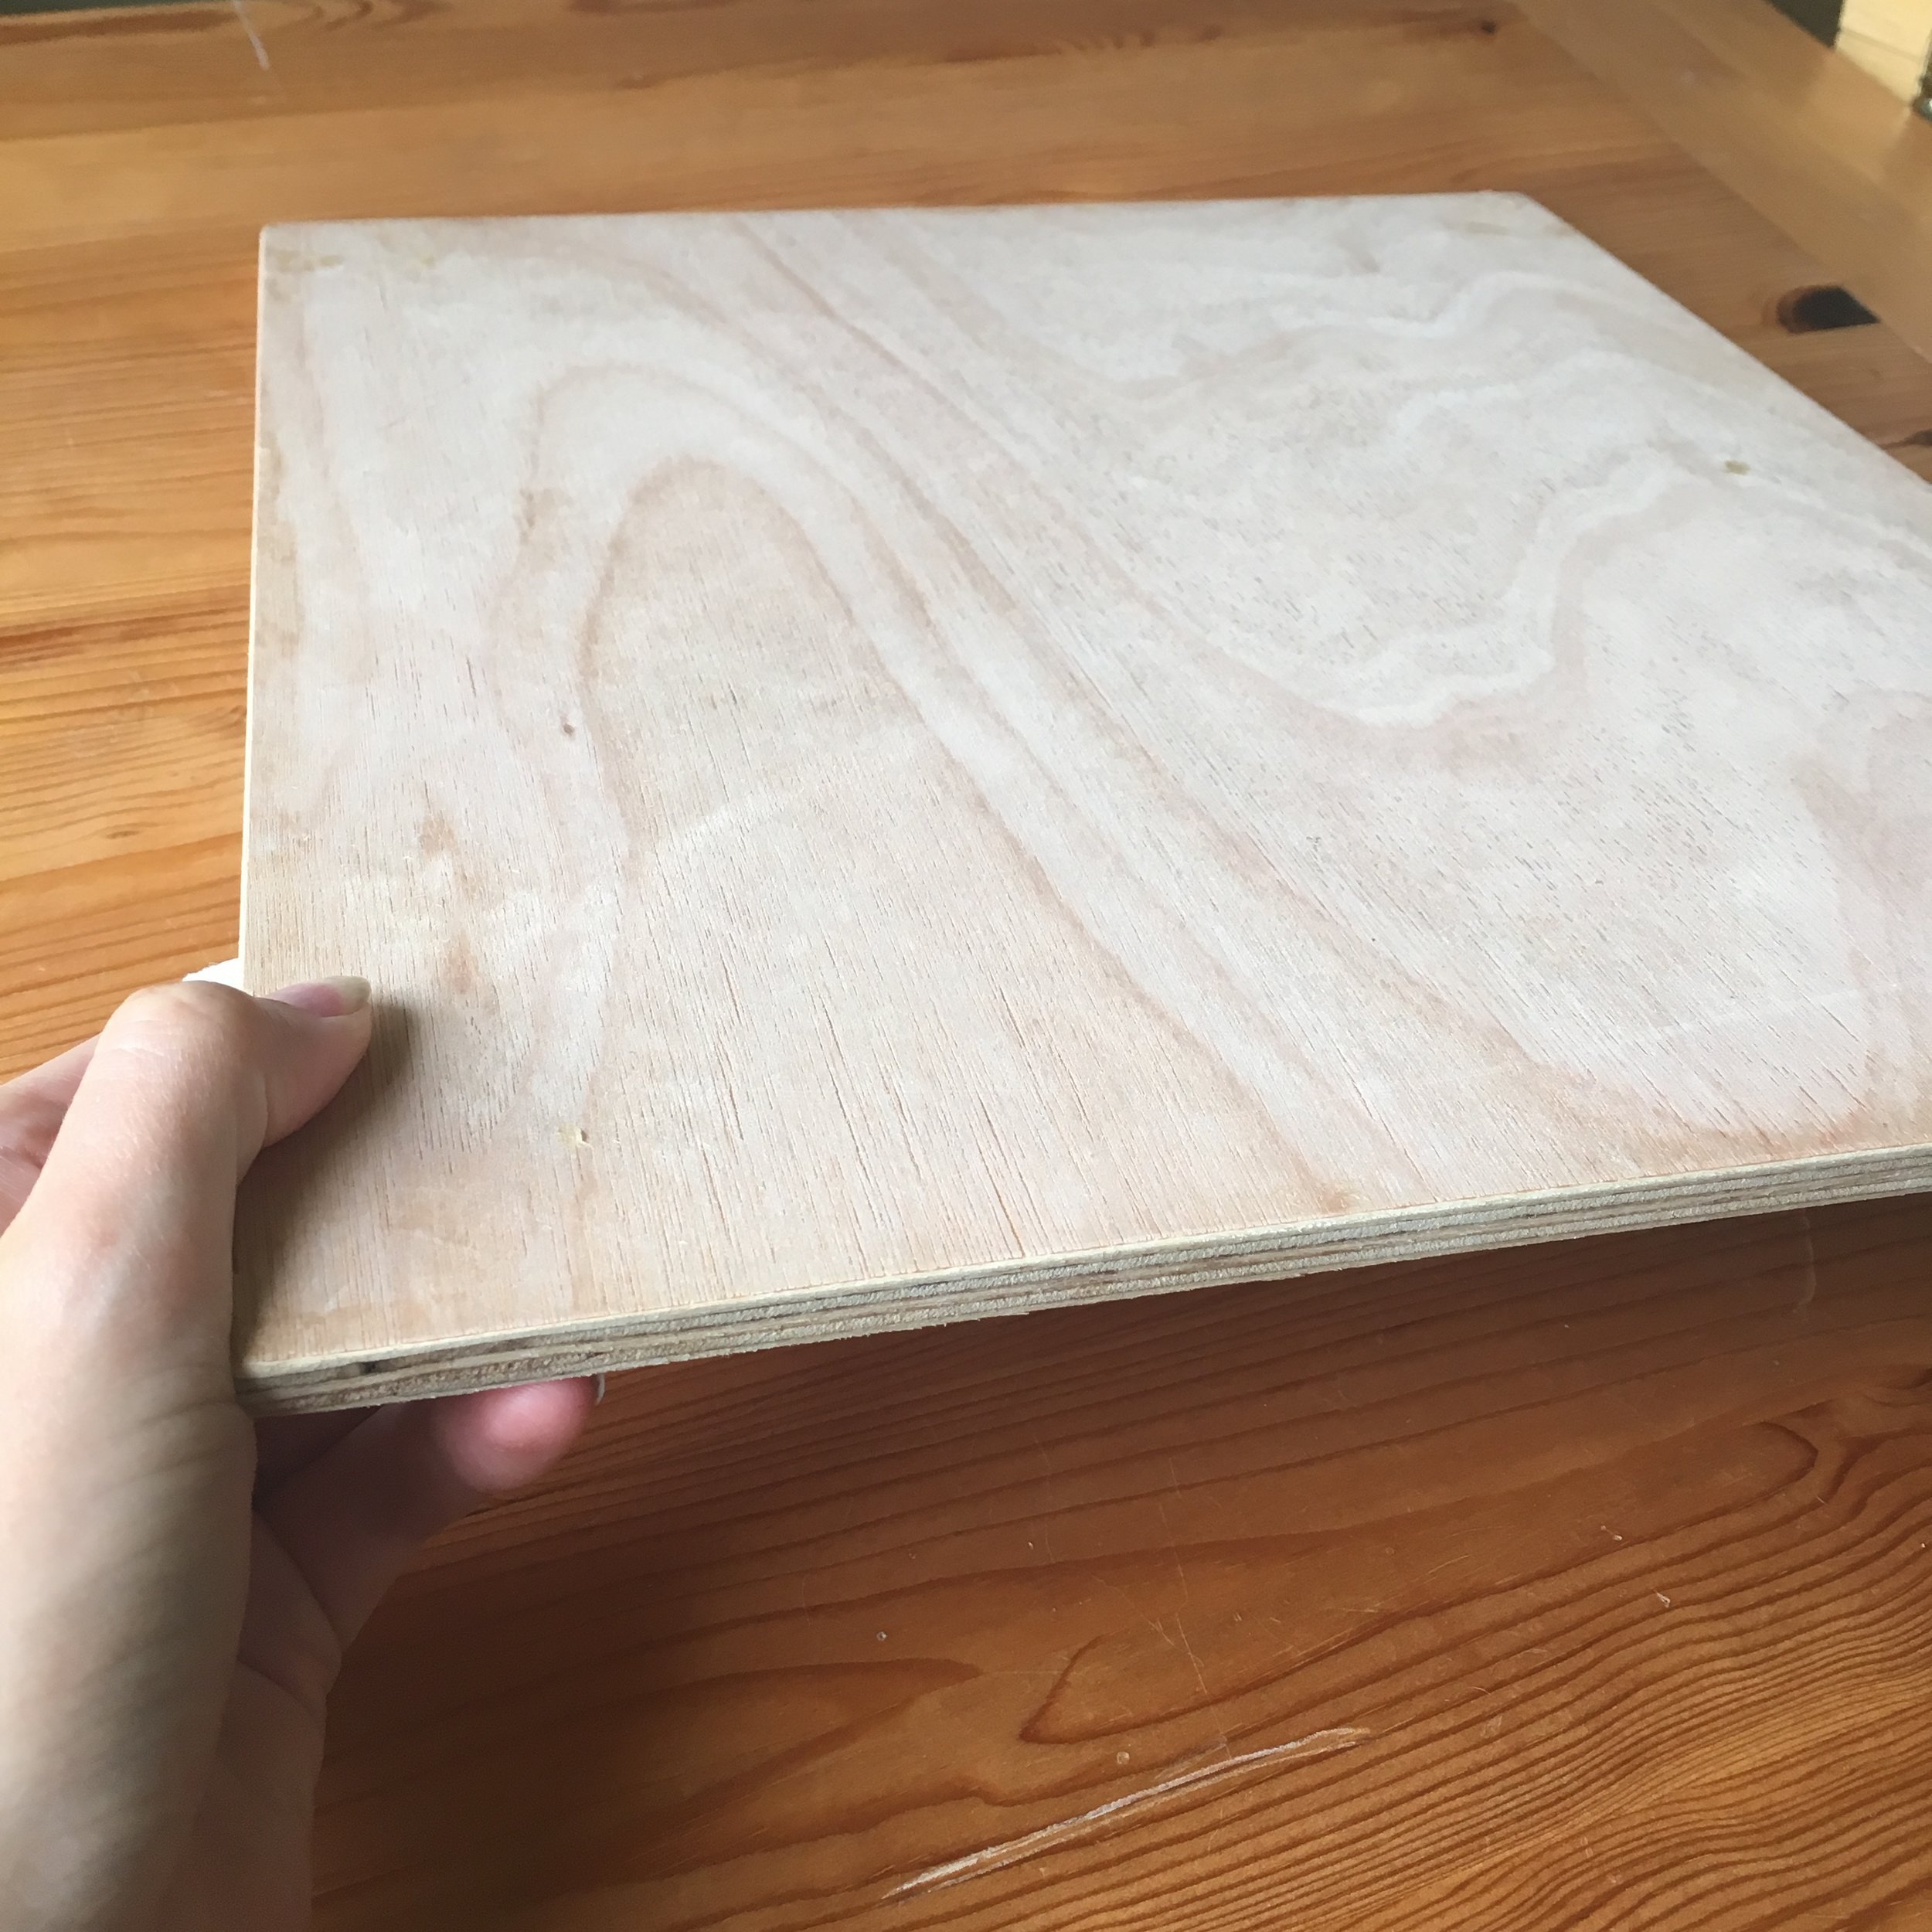
8mm or 12mm ply board, at least 4 cm wider in length and width than your paper
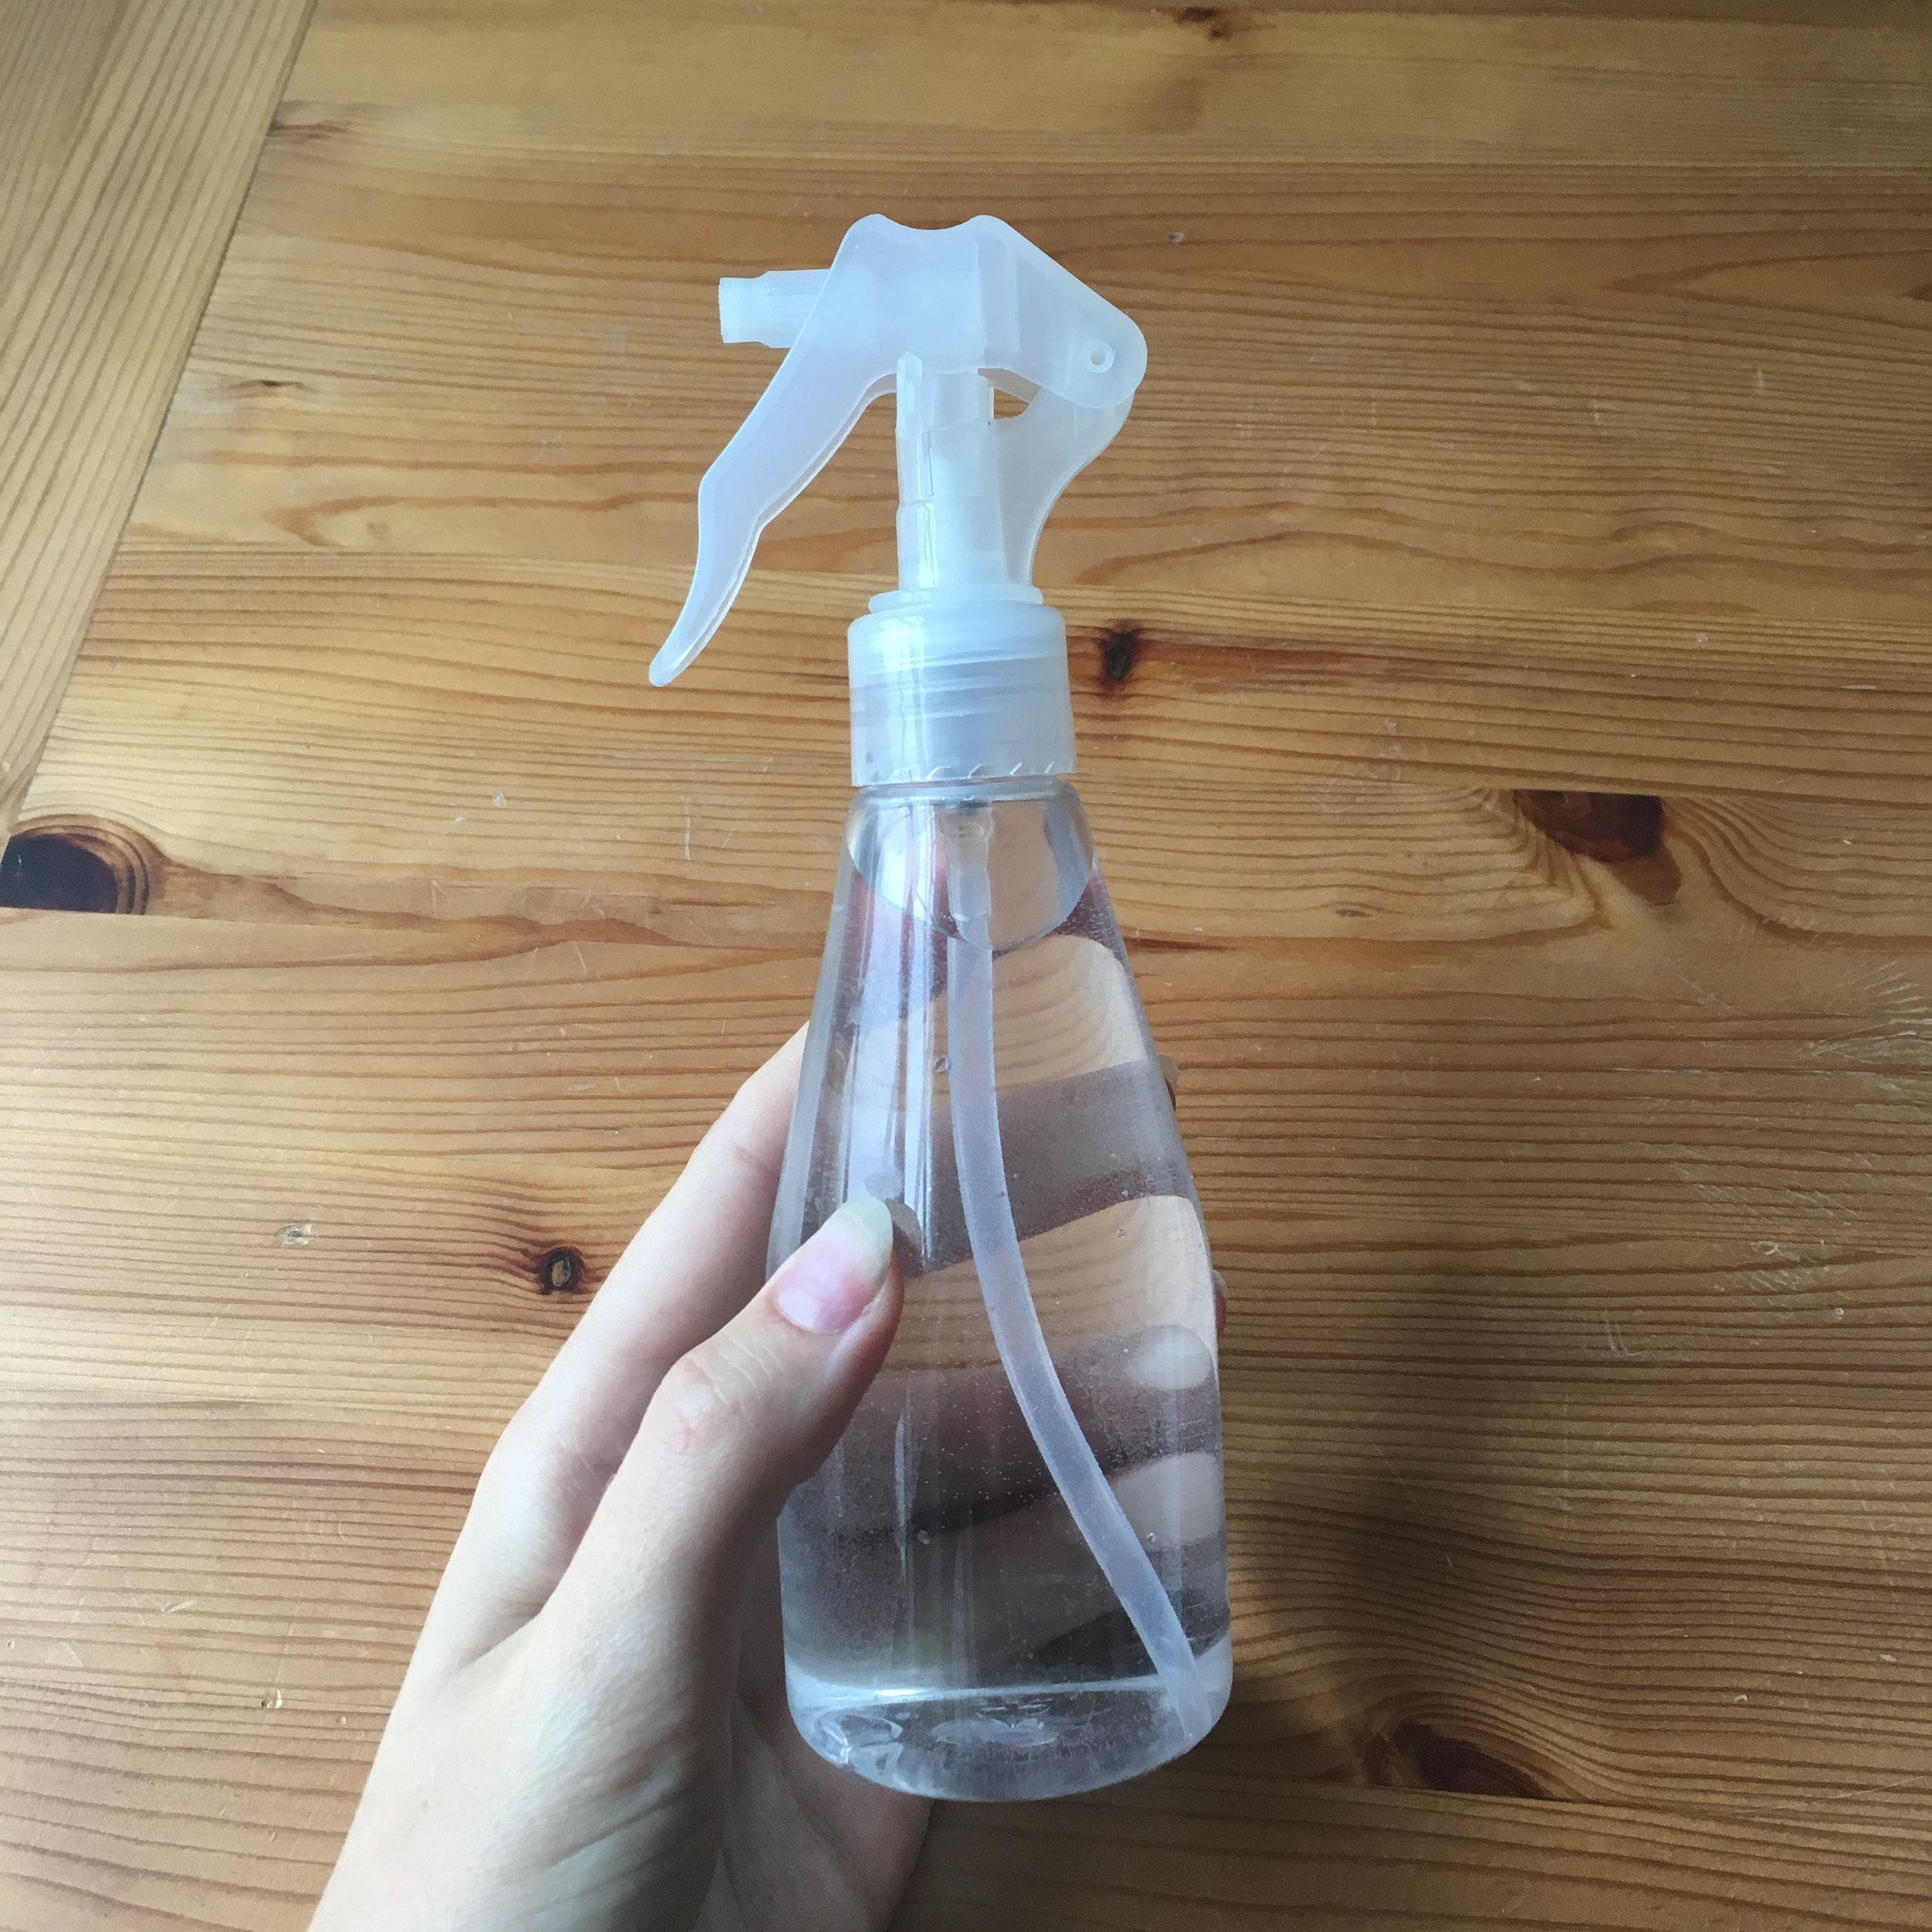
A spray bottle filled with water (distilled/filtered if possible)
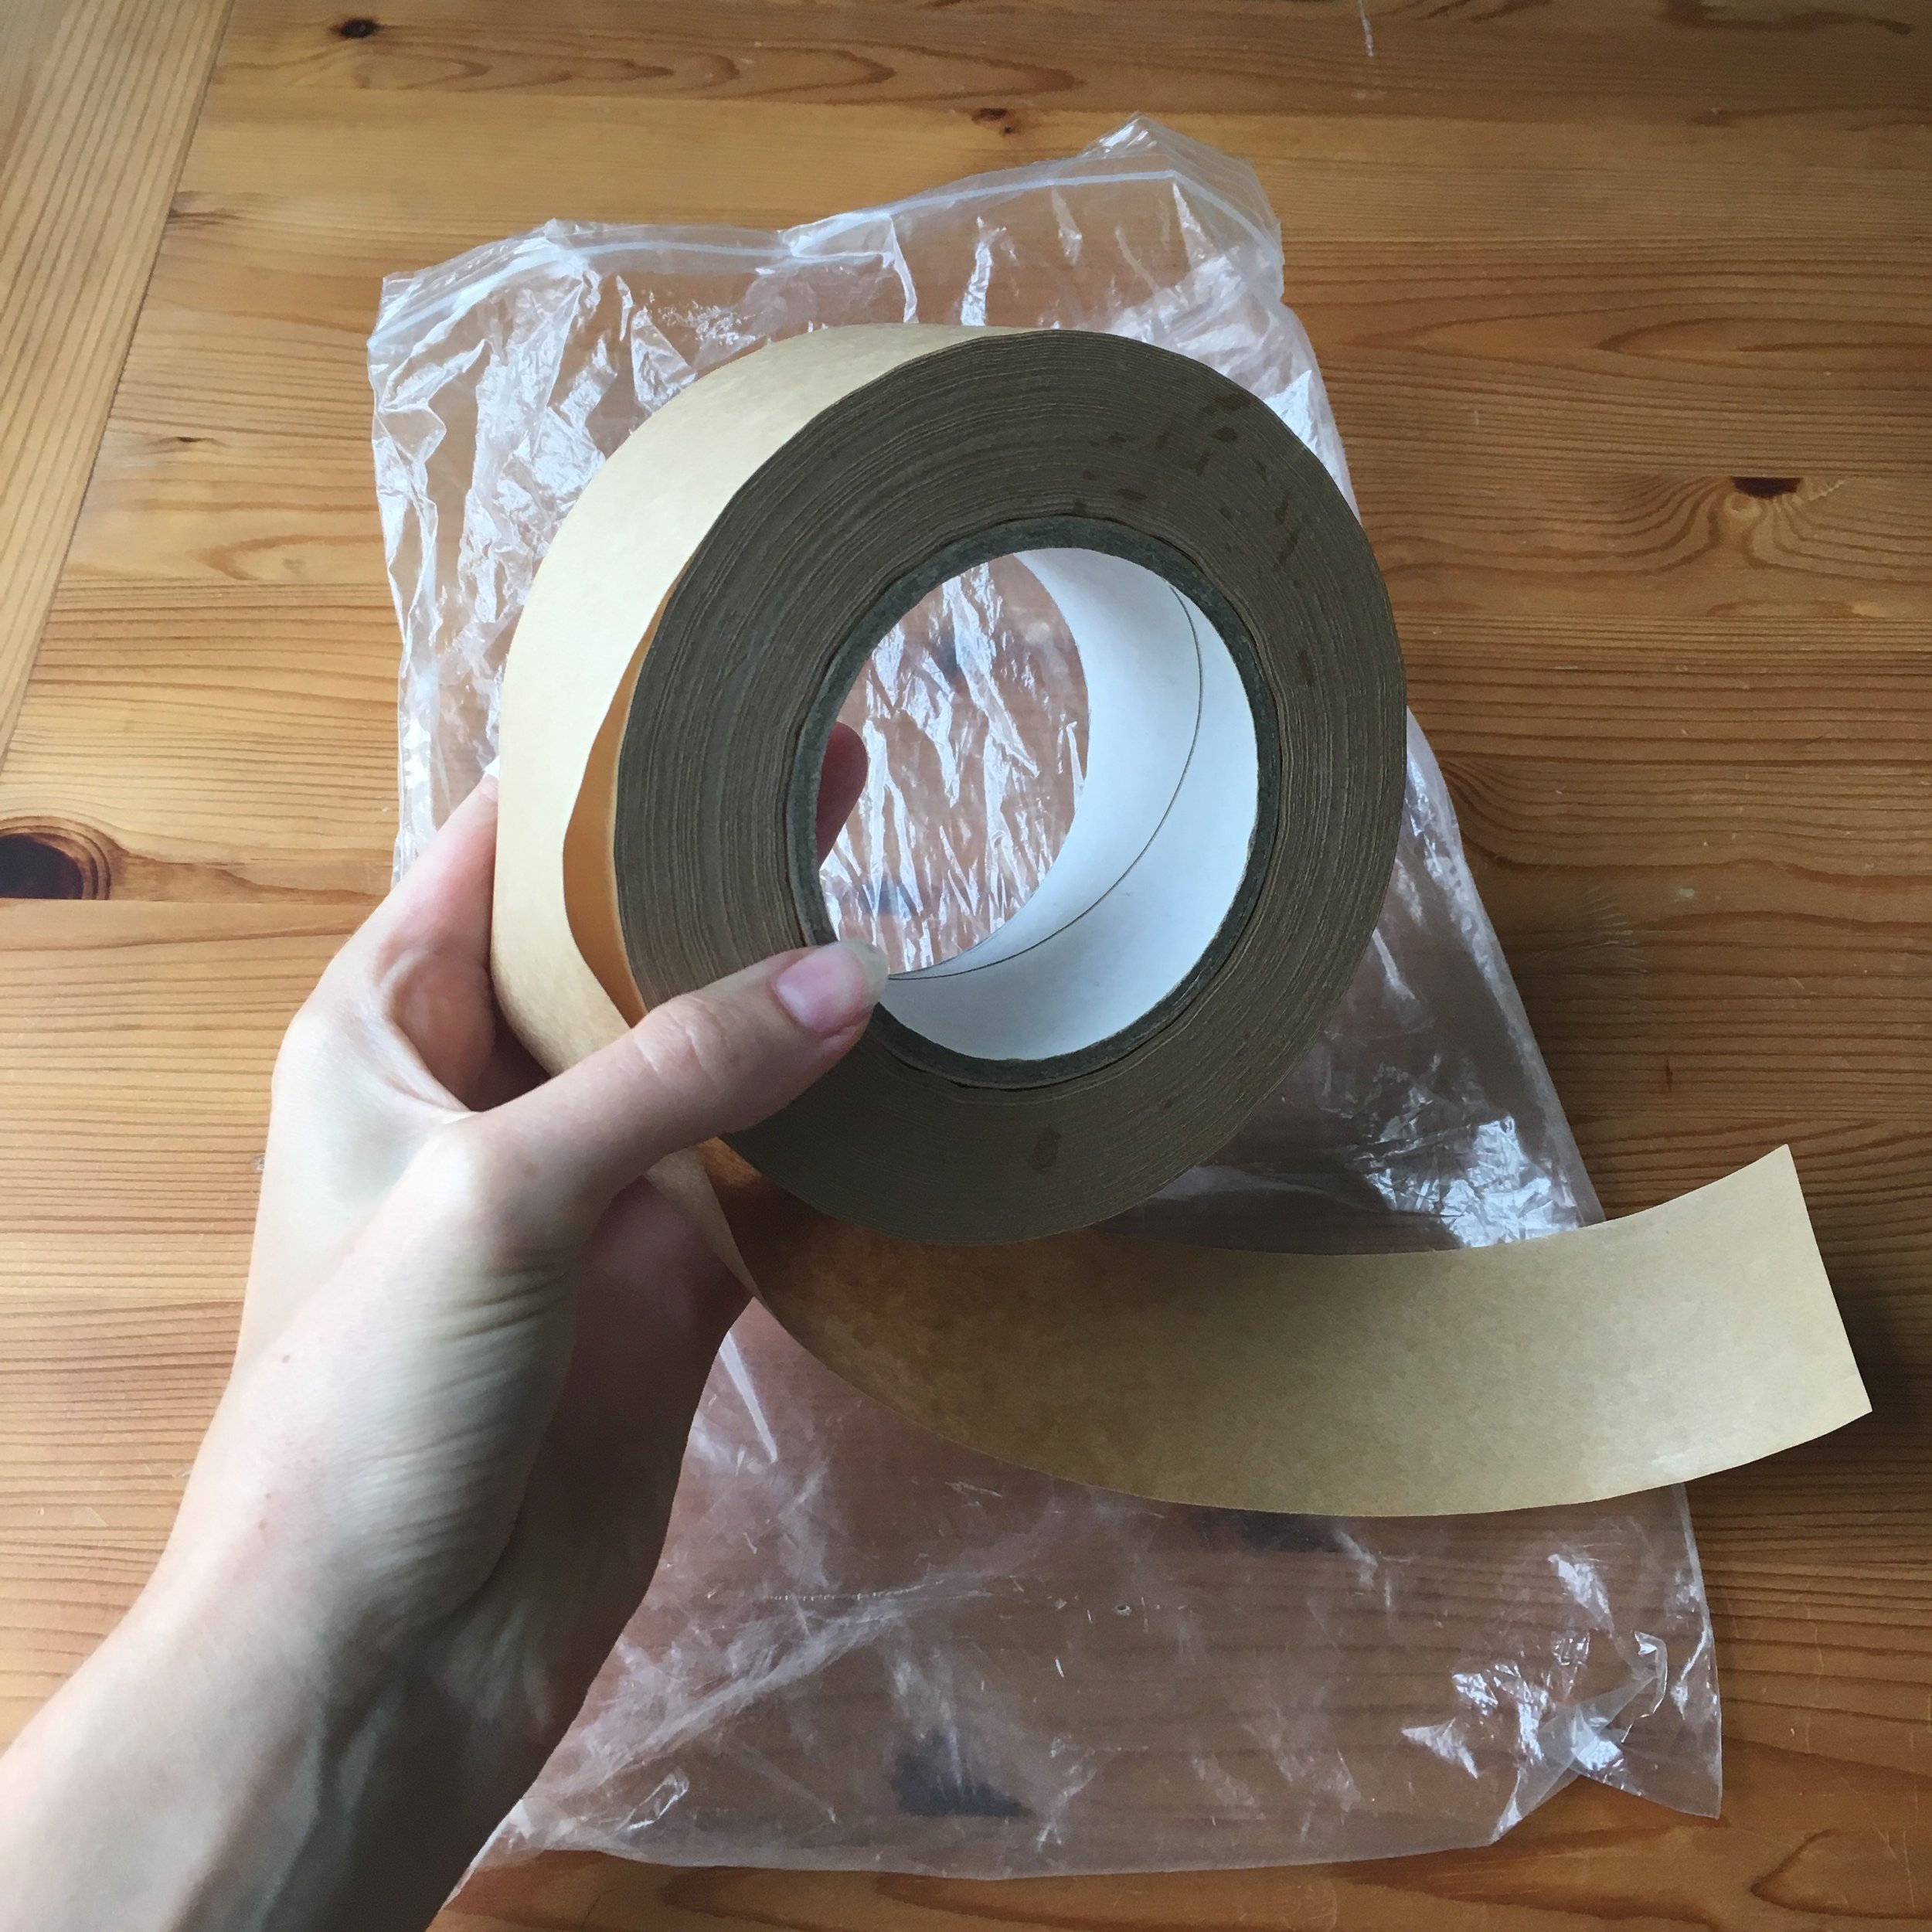
4 pieces of brown gummed tape, each cut 10cm longer than the size of the paper.
A Note on Ply Board
You can buy this from most D.I.Y. shops. Some will cut it to size for you. My usual board is approximately 80cm x 100cm which suits the majority of my paintings. It cost £6.00 (this one is smaller). I gently sand the edges and corners with sandpaper to make sure I don’t get splinters, and make sure it’s dust free after sanding, but that’s all! I never use varnish or sealant on the wood.
A Note on Gummed Tape
Gum Tape - I buy this from a local craft shop, but you can also find it online. It costs about £5.00 for a large roll. This is the one I buy. Make sure that you store it in a bag of some kind - it doesn’t like moisture!
What’s the process?
Identify the front and reverse of your paper.
Lay your paper front down on your board, and spray the reverse with a misting of water from your spray bottle. Not too much - a light layer only, you want it to appear moist, but you do not need large droplets or puddles to form!
Wait about 1 minute.
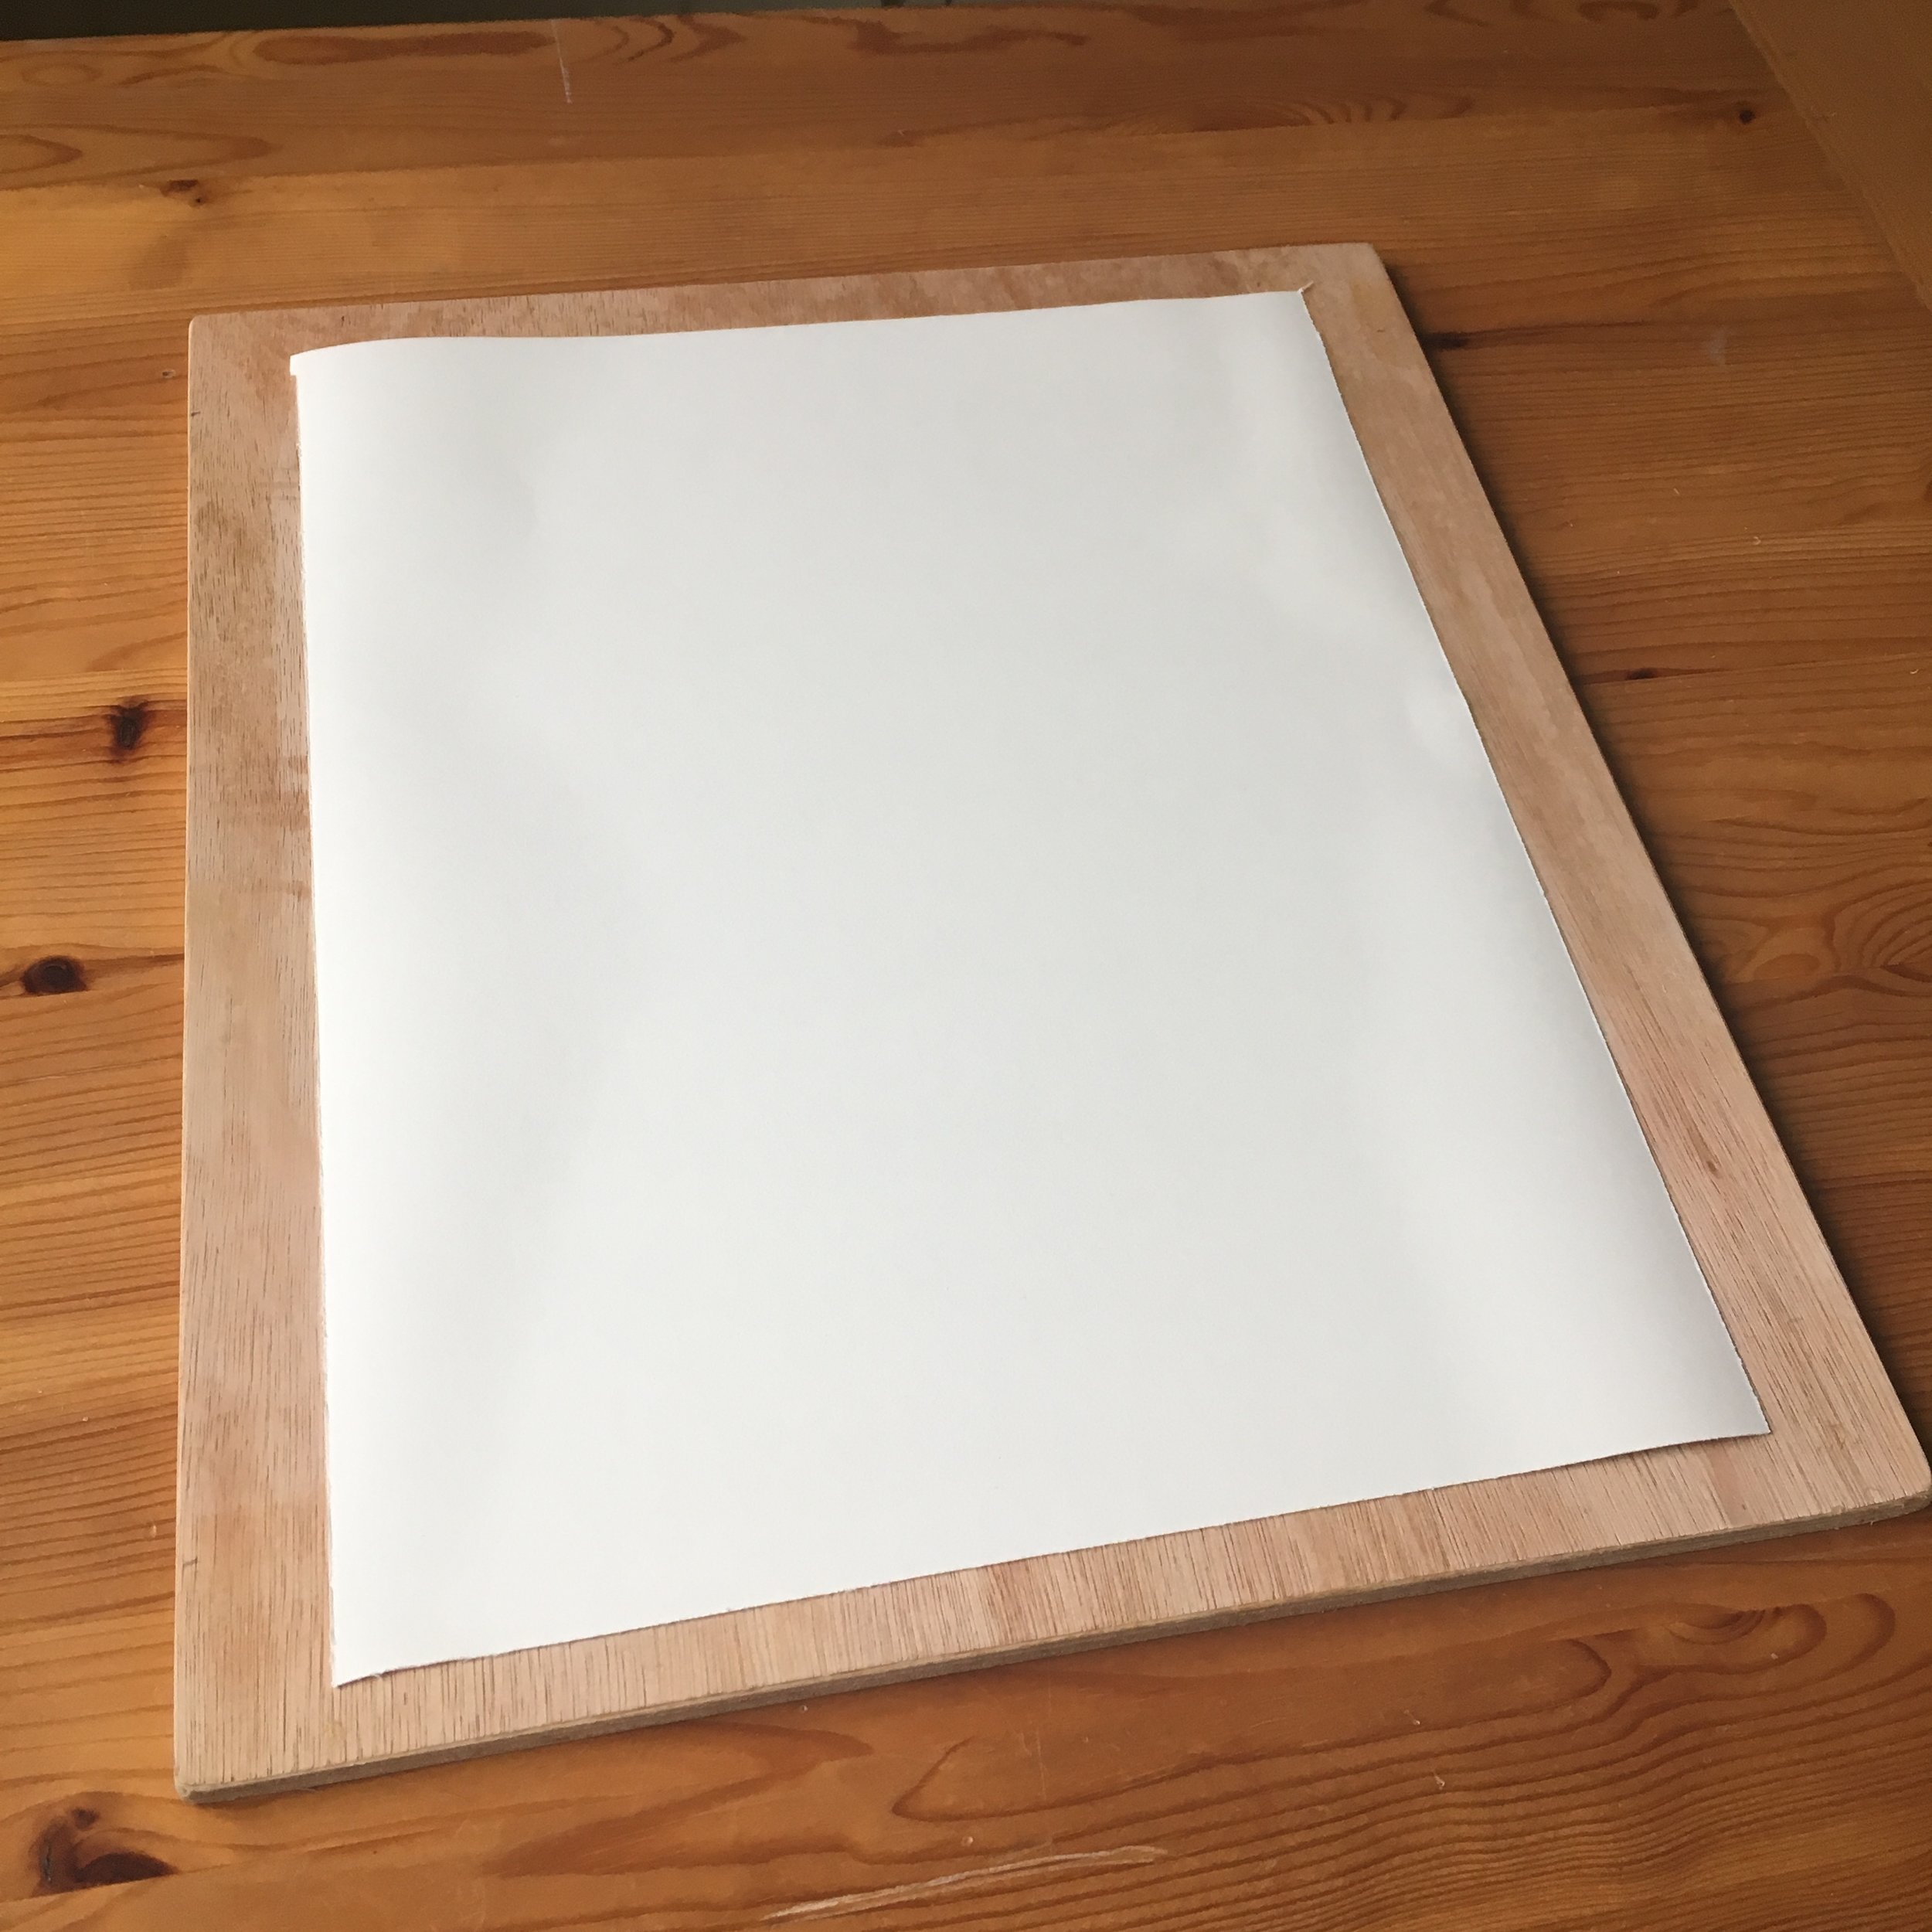
Turn the paper over, front side up. Lay it where you would like it on the board. Make sure you have at least 2 cm of board showing around the outside of your paper.
Spray this front side with a misting of water.
Leave for approximately 5-10 minutes. You should see the paper buckling as it expands. The amount of time you need to wait varies depending on your room humidity and temperature. If you have some good buckling, it’s okay to move onto step 7.
Spray the gummed side of the tape with a very light misting of water.
Apply the gummed tape to each side of the paper/board, overlapping the paper by about 2 cm, and board by about 2cm. It doesn’t matter if the tape folds around the edges of the board.
Lay the board on a flat surface and wait for paper to completely dry.

I always draw a scribble on the reverse of the paper, so it’s clear which way is up, and which was is down!

Ensure you have enough board surrounding your paper to allow the gummed tape to stick.

Hopefully you can see here the amount of water I apply to the paper. No large puddles or soaks in the bath are necessary - in doing so, you can disrupt the sizing (what holds the fibres together) in the paper.
The paper is already beginning to buckle here, as I prepare to moisten my gummed strips of tape.

Again, just a misting of water onto the gummed tape. Too much, and it may loose it’s stick.

Starting to apply the gummed tape. Sometimes, paper just does have a life of it’s own! Trust the process. It’s so satisfying to see the paper flatten and tighten.

To me, there is nothing more satisfying than a perfectly stretched piece of watercolour paper. Now, the possibilities are endless!
I really hope this helps you with stretching watercolour paper. I always found the process quite stressful, as I never wanted to ruin my paper. But now with this technique, I hardly have to think about what I’m doing! Let me know how you do, and if you have any questions then pop them in the comments - it really helps, as I can try and explain things more clearly if necessary for others.
If you’re ready to move on to starting to paint, you may find my article about my top tips for starting watercolours useful! Read it here.