So you want to start watercolour painting?
10 things I wish I'd known before starting watercolours.
I want to encourage everybody to incorporate the creative arts into their daily lives - I feel it brings so much joy! A lot of people ask me, ‘I’d love to start watercolours, but I have no idea where to start!’, or they go out and buy a sketchbook and a watercolour set, but give up too soon. I hope this post will inspire you to not only start, but keep going. If you find it a useful resource, save it so you can come back to it whenever you need a little reminder or motivation! Without further-a-do, here we go; the ten things I wish I’d known before starting with watercolours:

#1 - DON’T FORGET YOUR DRAWING PRACTICE!
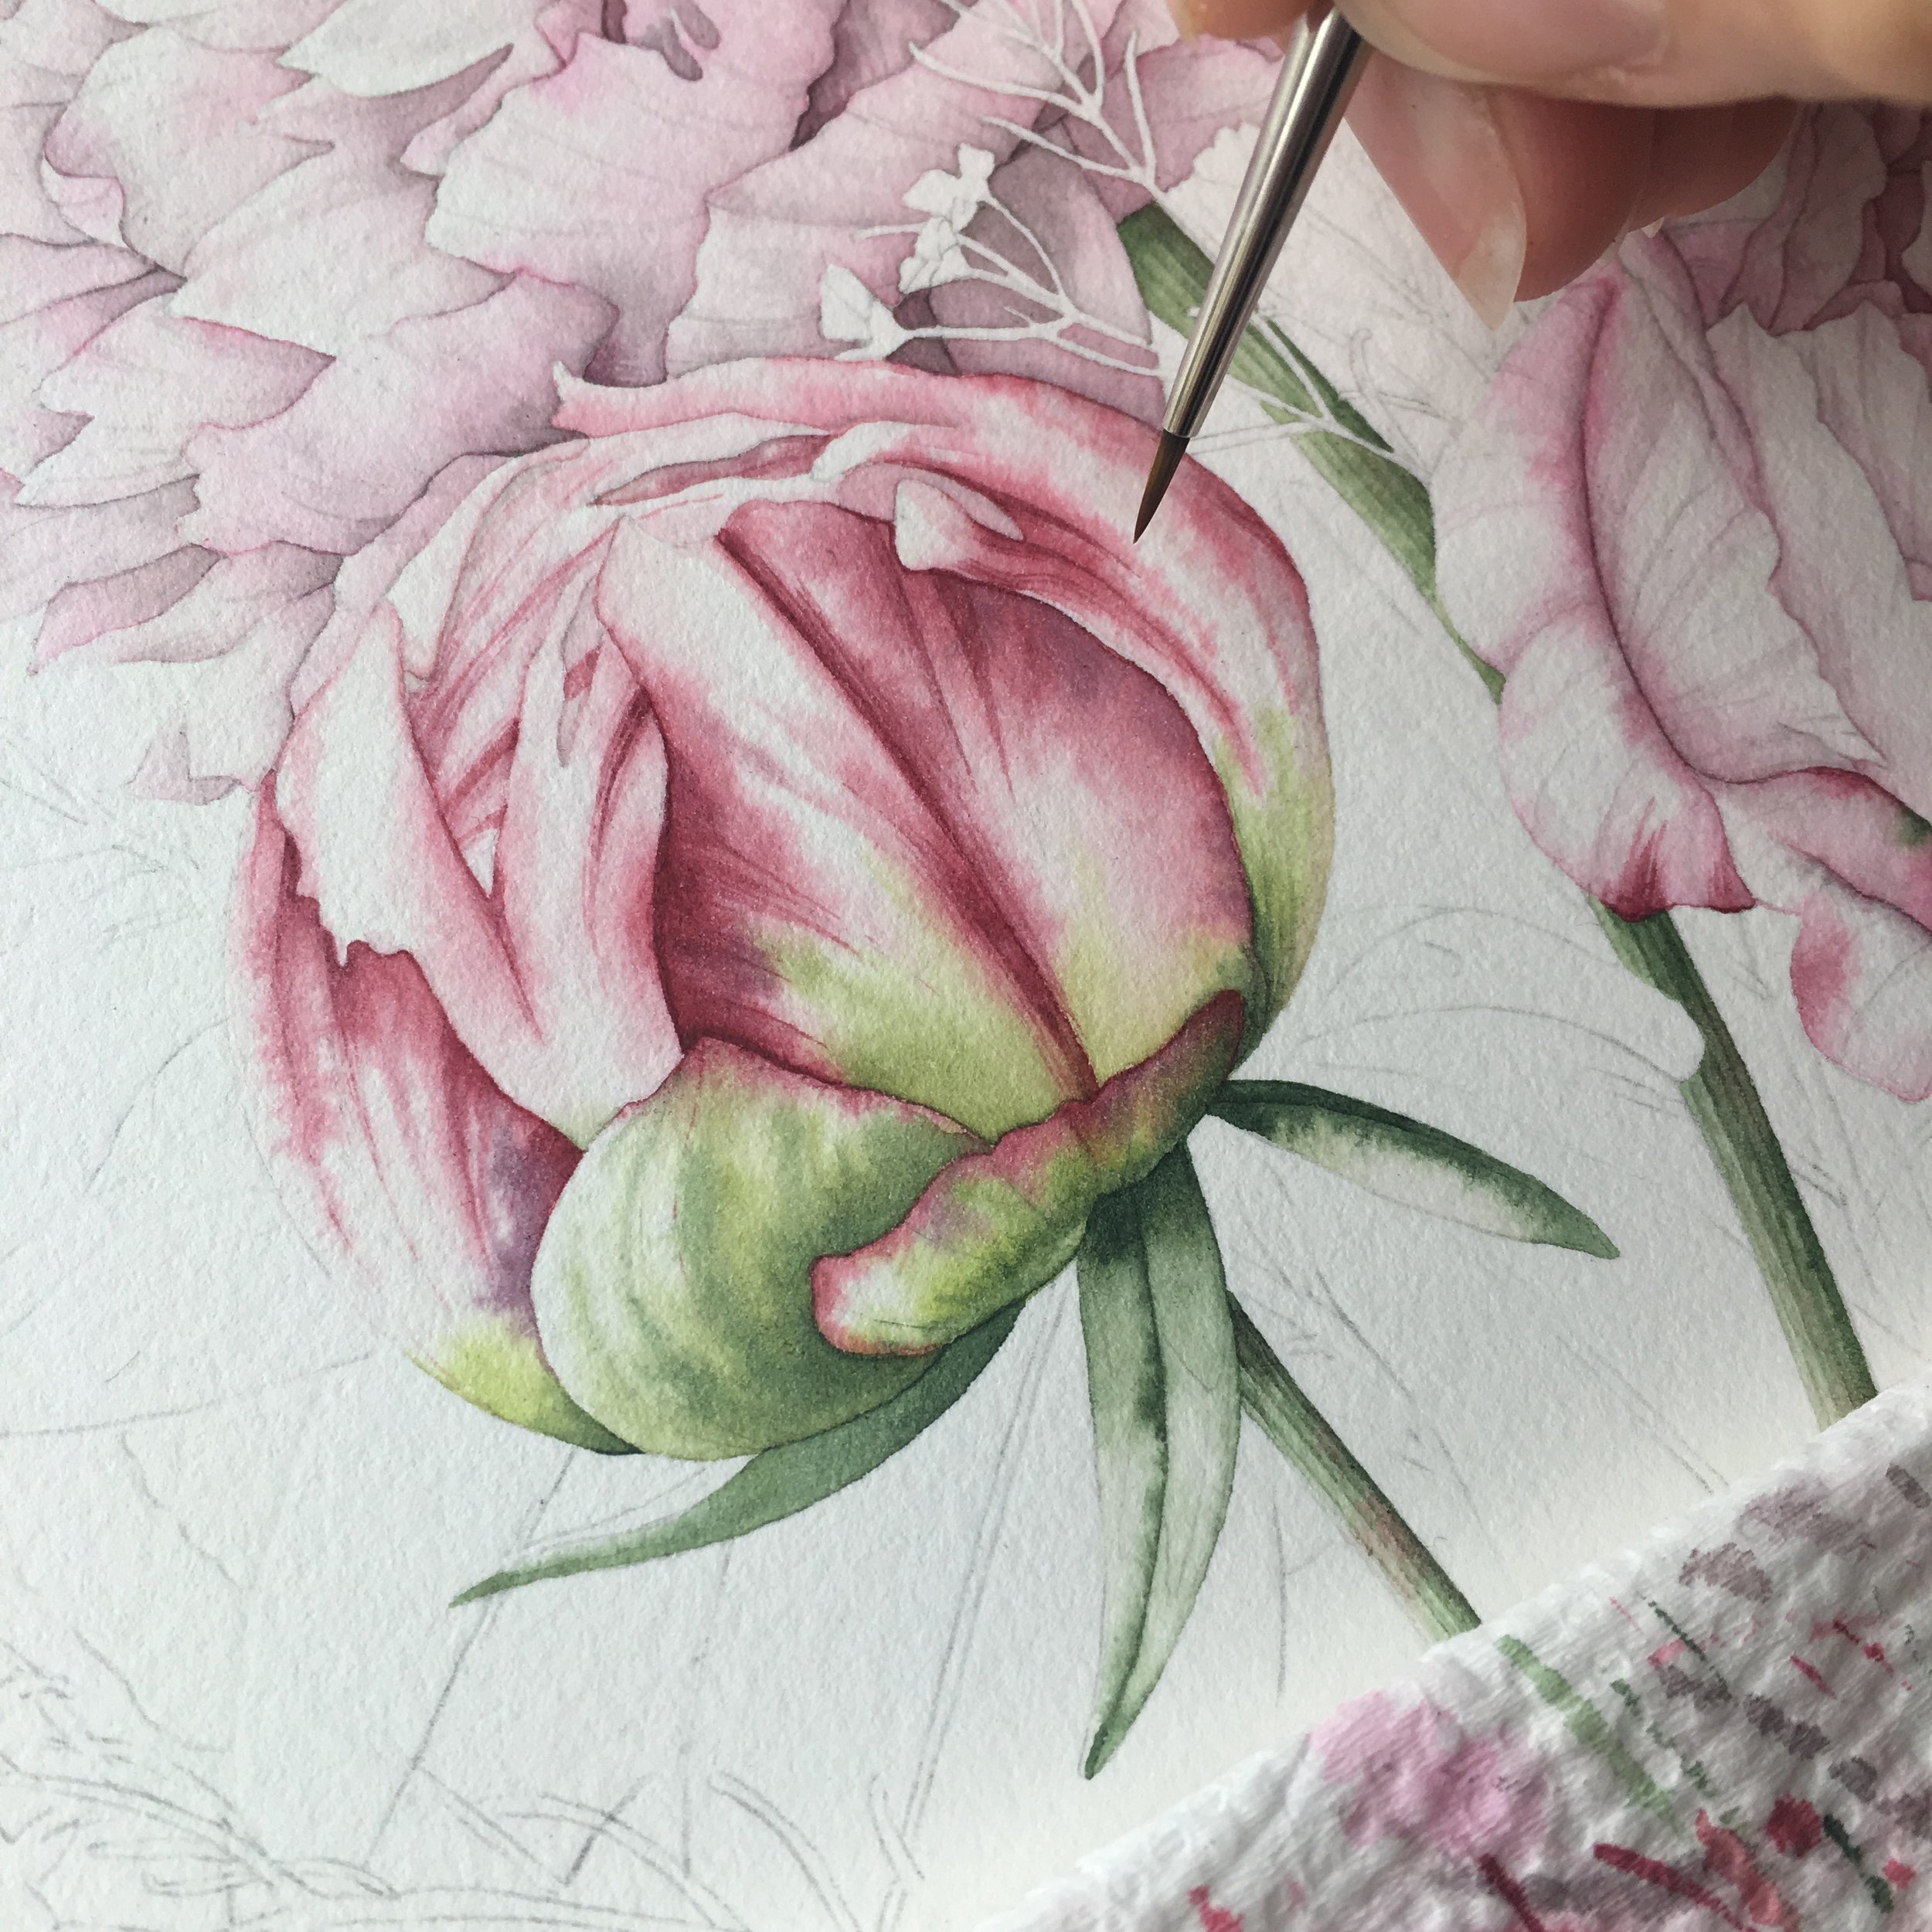
No matter how good your skill of laying down watercolour paint is, your final piece will only be as good as the drawing! Don’t neglect this part, especially if you’re wanting to paint realistic watercolours, such as my botanical illustrations, still life, people or landscapes. If you’re thinking ‘drawing is absolutely not for me - I just want to enjoy laying paint down!’ - that’s fine! You can create some beautiful abstract pieces by simply playing with water and pigment.
#2 - BUY THE RIGHT PAPER
It’s absolutely essential that for watercolour painting, you use watercolour paper. It has the right absorbent qualities to work with the water and pigment you’ll be laying down. There are lots of different brands, and different artists prefer different papers. Personally, my choice is Arches. See what’s available in your local art shop (side note: please support your local art shops where possible!)
‘Hold up - I’m looking at papers - what’s this hot pressed/cold pressed business?’
Hot pressed paper has a smoother surface. It’s much better for detailed watercolour work. A cold pressed surface is more textured, and works beautifully for paintings with larger areas of washes and more abstract pieces.
‘And what’s this 140gsm, 300gsm stuff?’
This is the weight of the paper - I would advise buying as heavier a paper (i.e. a larger number) as possible. I buy 300gsm. Why? When you put water down onto the paper, a lighter paper will buckle as the water is absorbed into the fibres - this makes it difficult to paint on, but also can remain to some degree even when the painting is dry (yuck). You can stretch watercolour paper, but if the paper is heavy enough, you won’t need to. My choice at the moment is Arches.
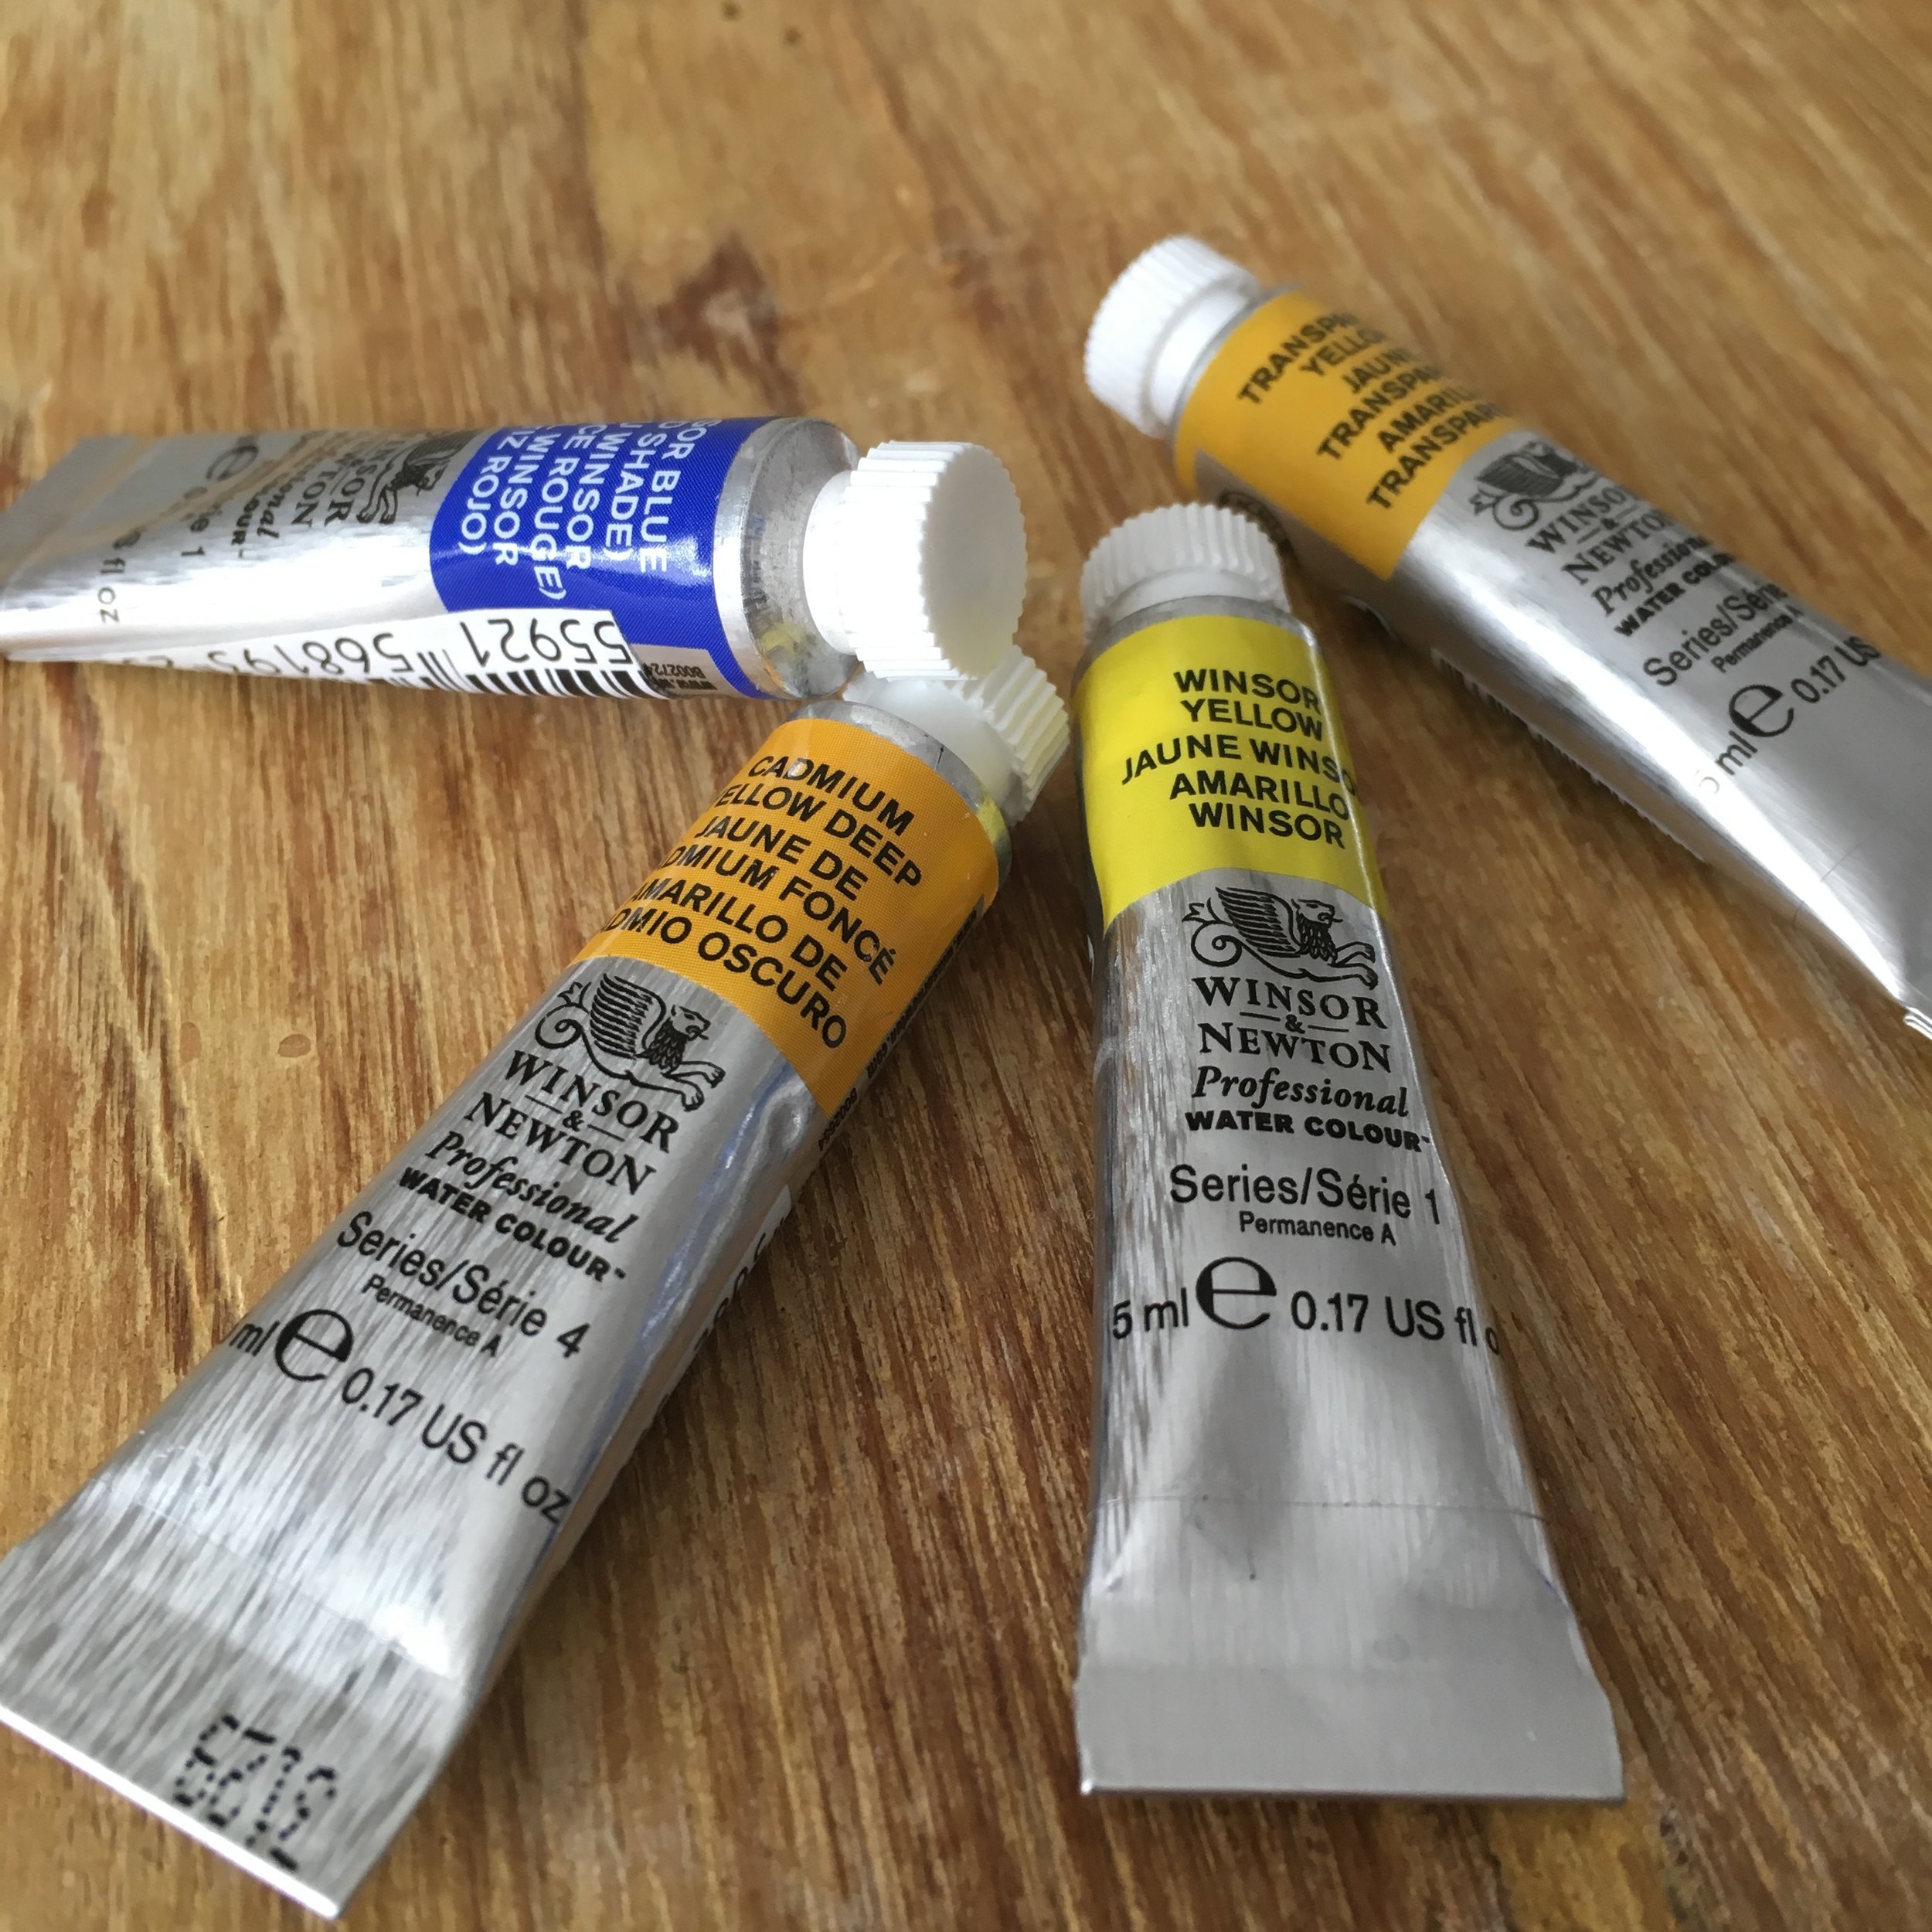
#3 - BUY THE RIGHT PAINTS
There are a myriad of different watercolour paints out there. They vary in quality and therefore price. I would always recommend buying the best quality paints that you can afford. For example - Winsor & Newton, the brand I use most often, have their ‘Professional’ range, and their ‘Cotman’ range. I always advise beginners to go straight for the ‘Professional’ range, even if this means buying fewer paints. You will get superior quality pigments that are actually easier to use, more vibrant, and your paintings will be more likely to stand the test of time without fading! Quality is absolutely better than quantity when it comes to watercolour paints. You can build up your collection of paints over time.
‘Which are better, tubes or pans?’
This is a completely personal choice. I actually have a mixture of both. I would say, however, that when starting out, buying a tray of watercolour pans (with say 12 different pans), would be an excellent starting point.
#4 - BUY THE RIGHT BRUSHES
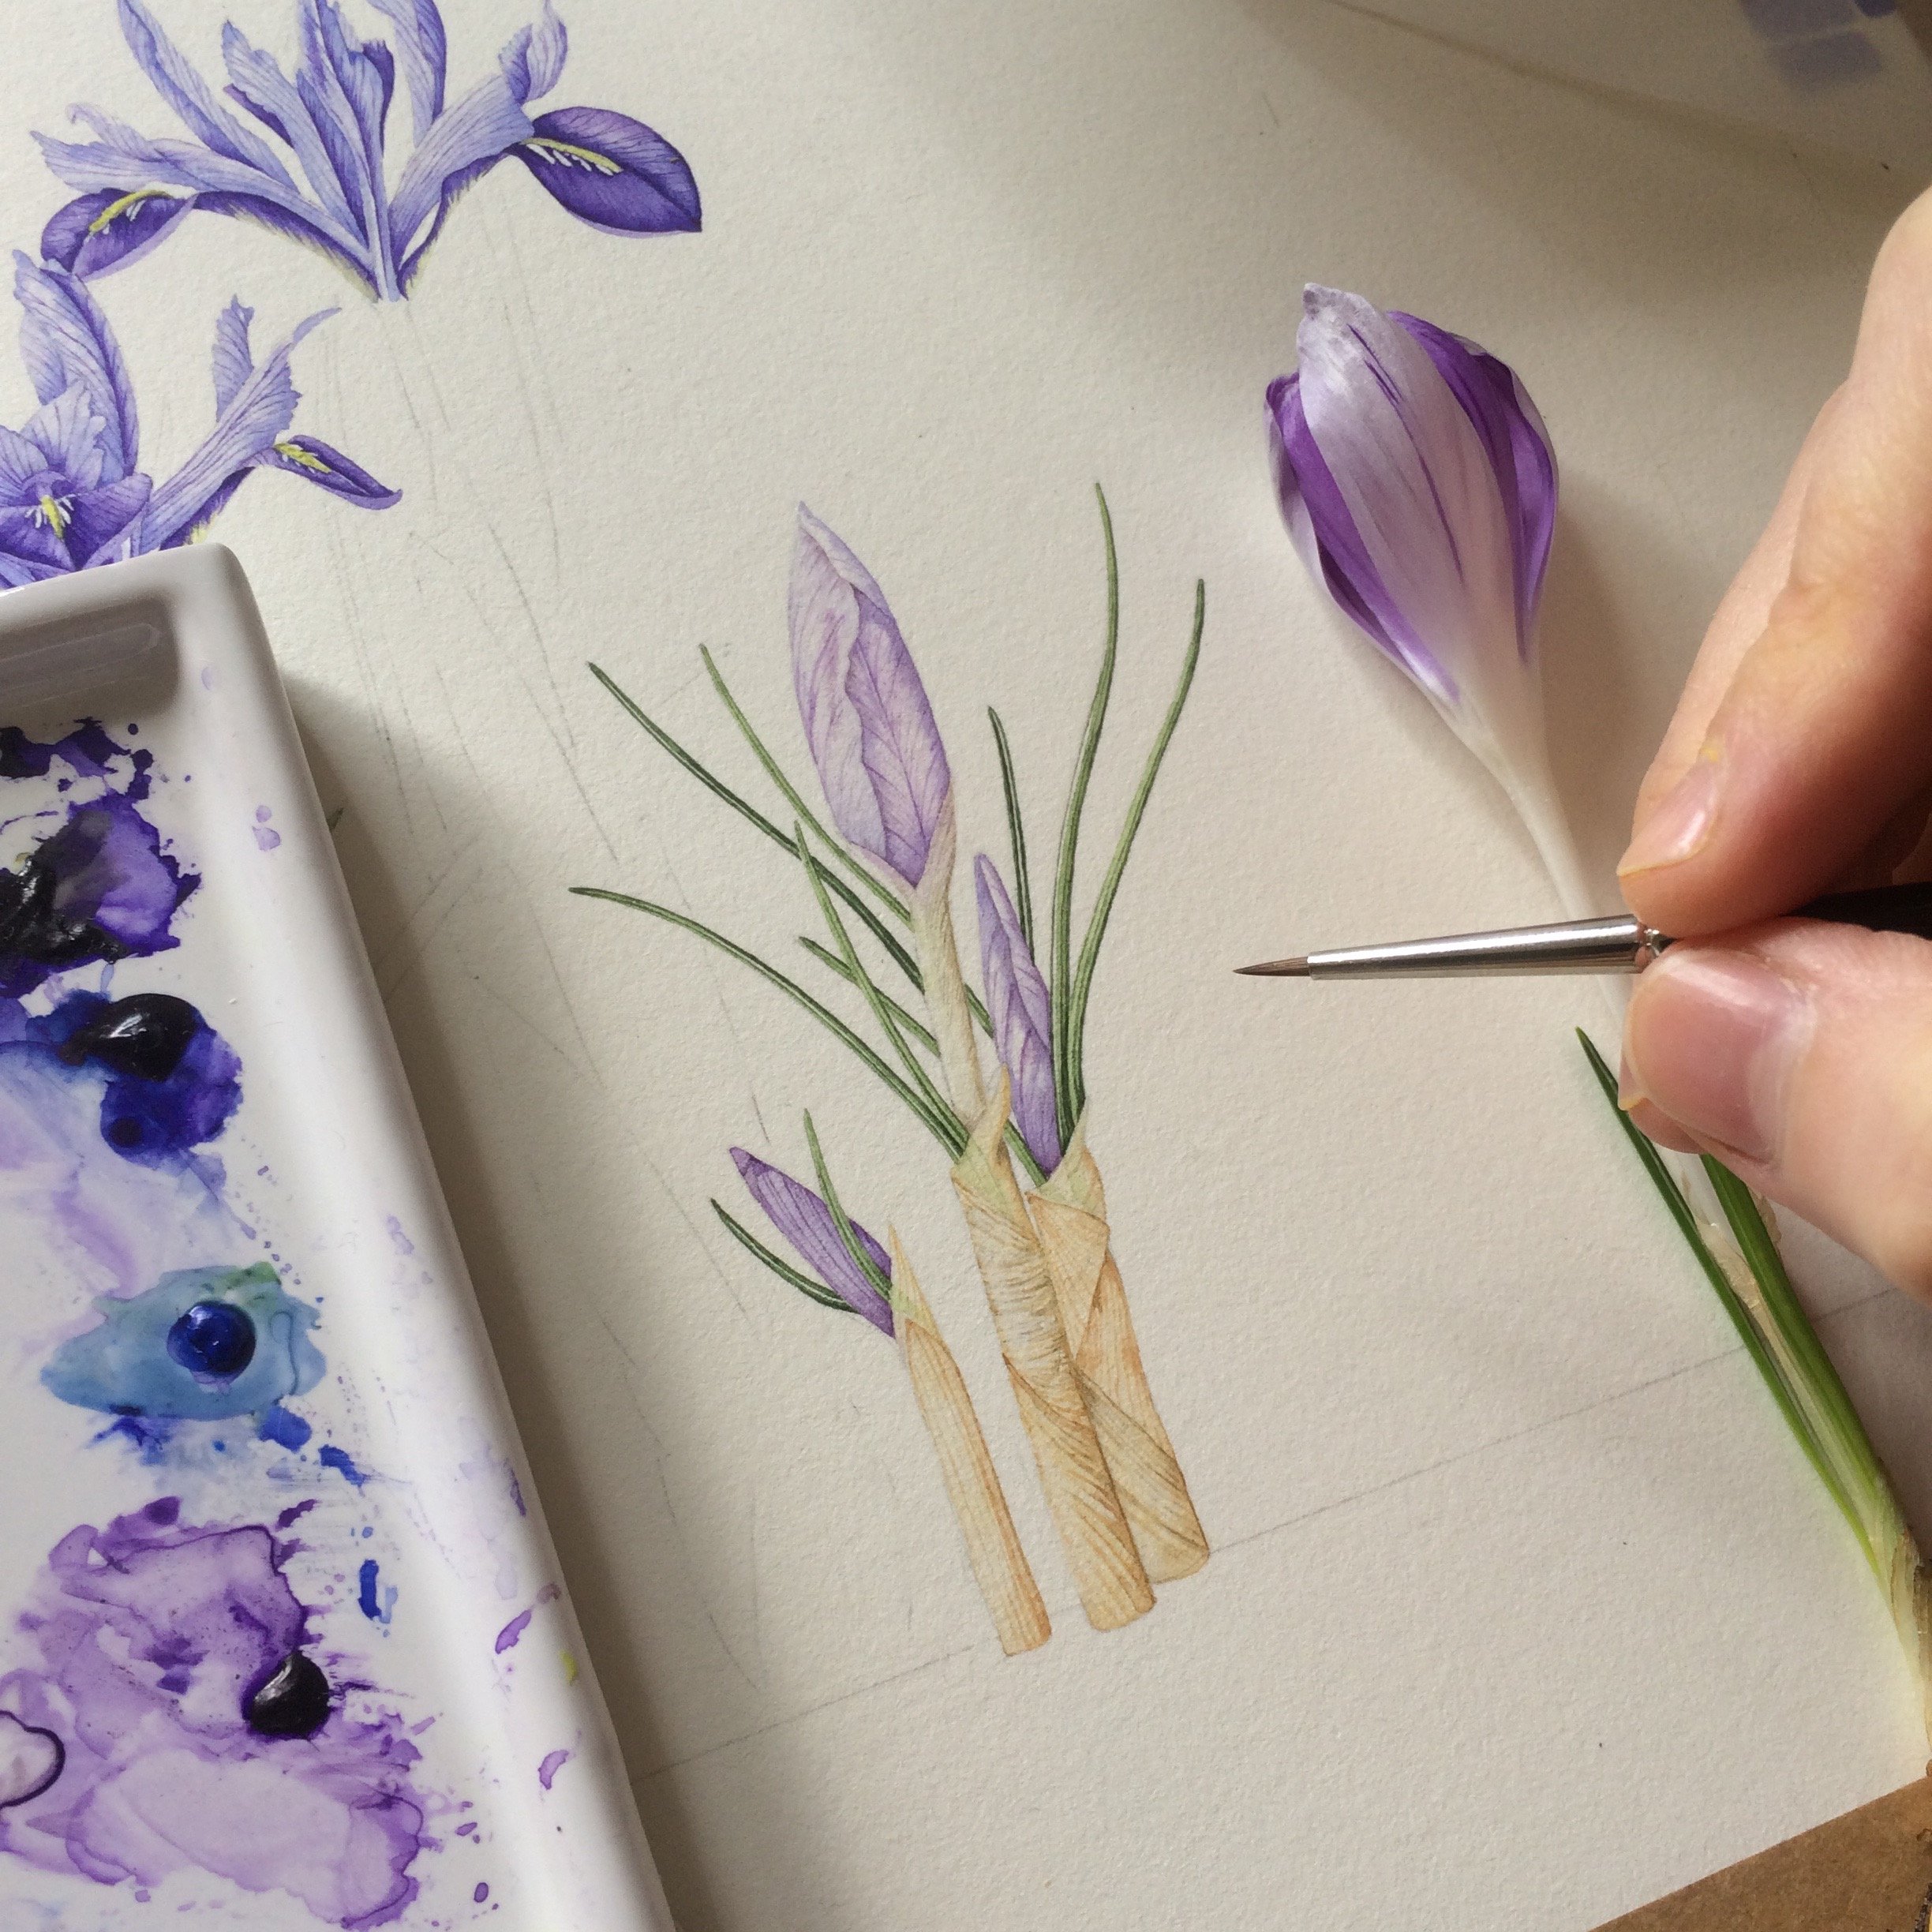
You have the right paper and paints now, so you need the right tool to put paint to paper. Buy brushes designed for watercolour painting. Kolinsky sable brushes - made from the hair of the kolinsky, a fluffy weasel found in the Siberian wilderness - have long been renowned for being the best. However, I find that synthetic brushes (I use these) are as good and if not better - and hey, we get to leave those poor little weasels alone to explore their Siberian wilderness, which can only be a good thing.
#5 - KEEP EVERYTHING CLEAN
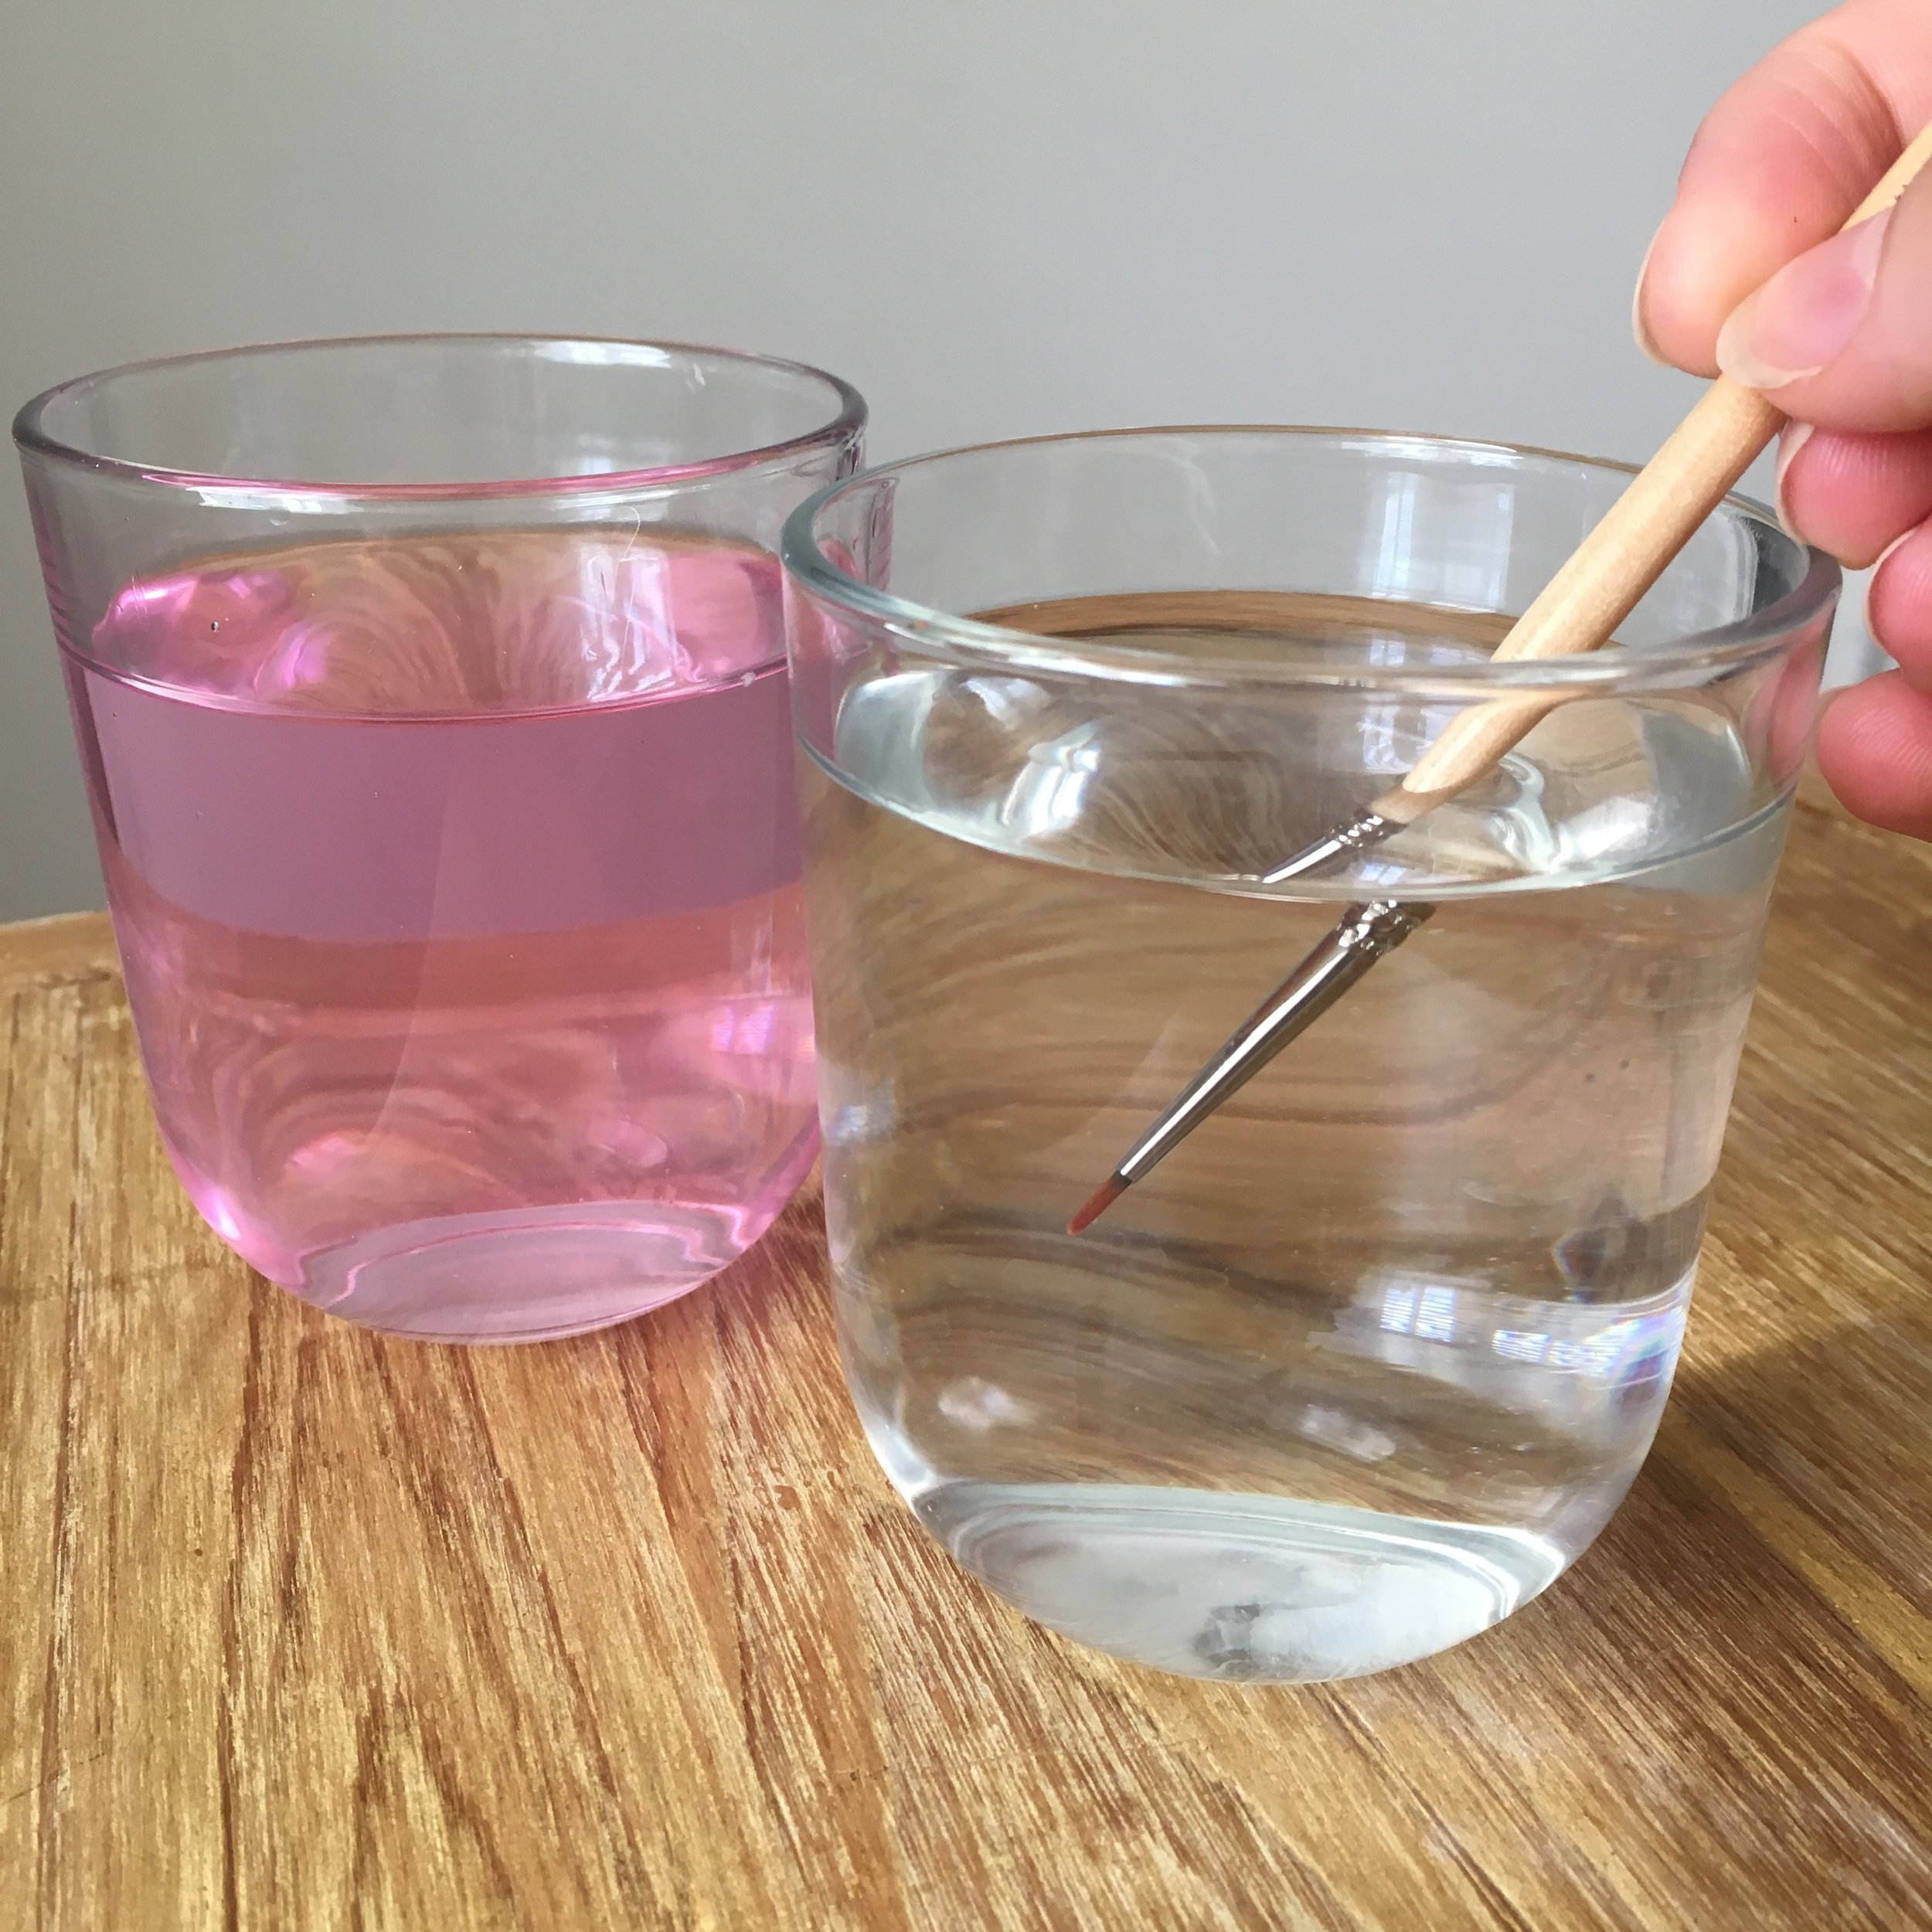
Keep your water jars clean. There is no point adding muddy water to those lovely clear pigments you’ve bought. Get up regularly and get fresh water - it’s also an opportunity to stretch those legs and move the blood around your body.
I have two jars next to me when I paint- one for washing my brush, and one that stays crystal clear for putting directly onto the paper (i.e. only clean brushes allowed!). Still change the clean one regularly too, though.
If you’re working on a small area of a big painting, cover the rest of the painting up! It’s always so devastating when you drop your brush, or paint drops onto your paper when you’re going from palette to paper. Also, be aware that the oils in your hand can damage the paper surface, so always rest your hand on something such as tracing paper.
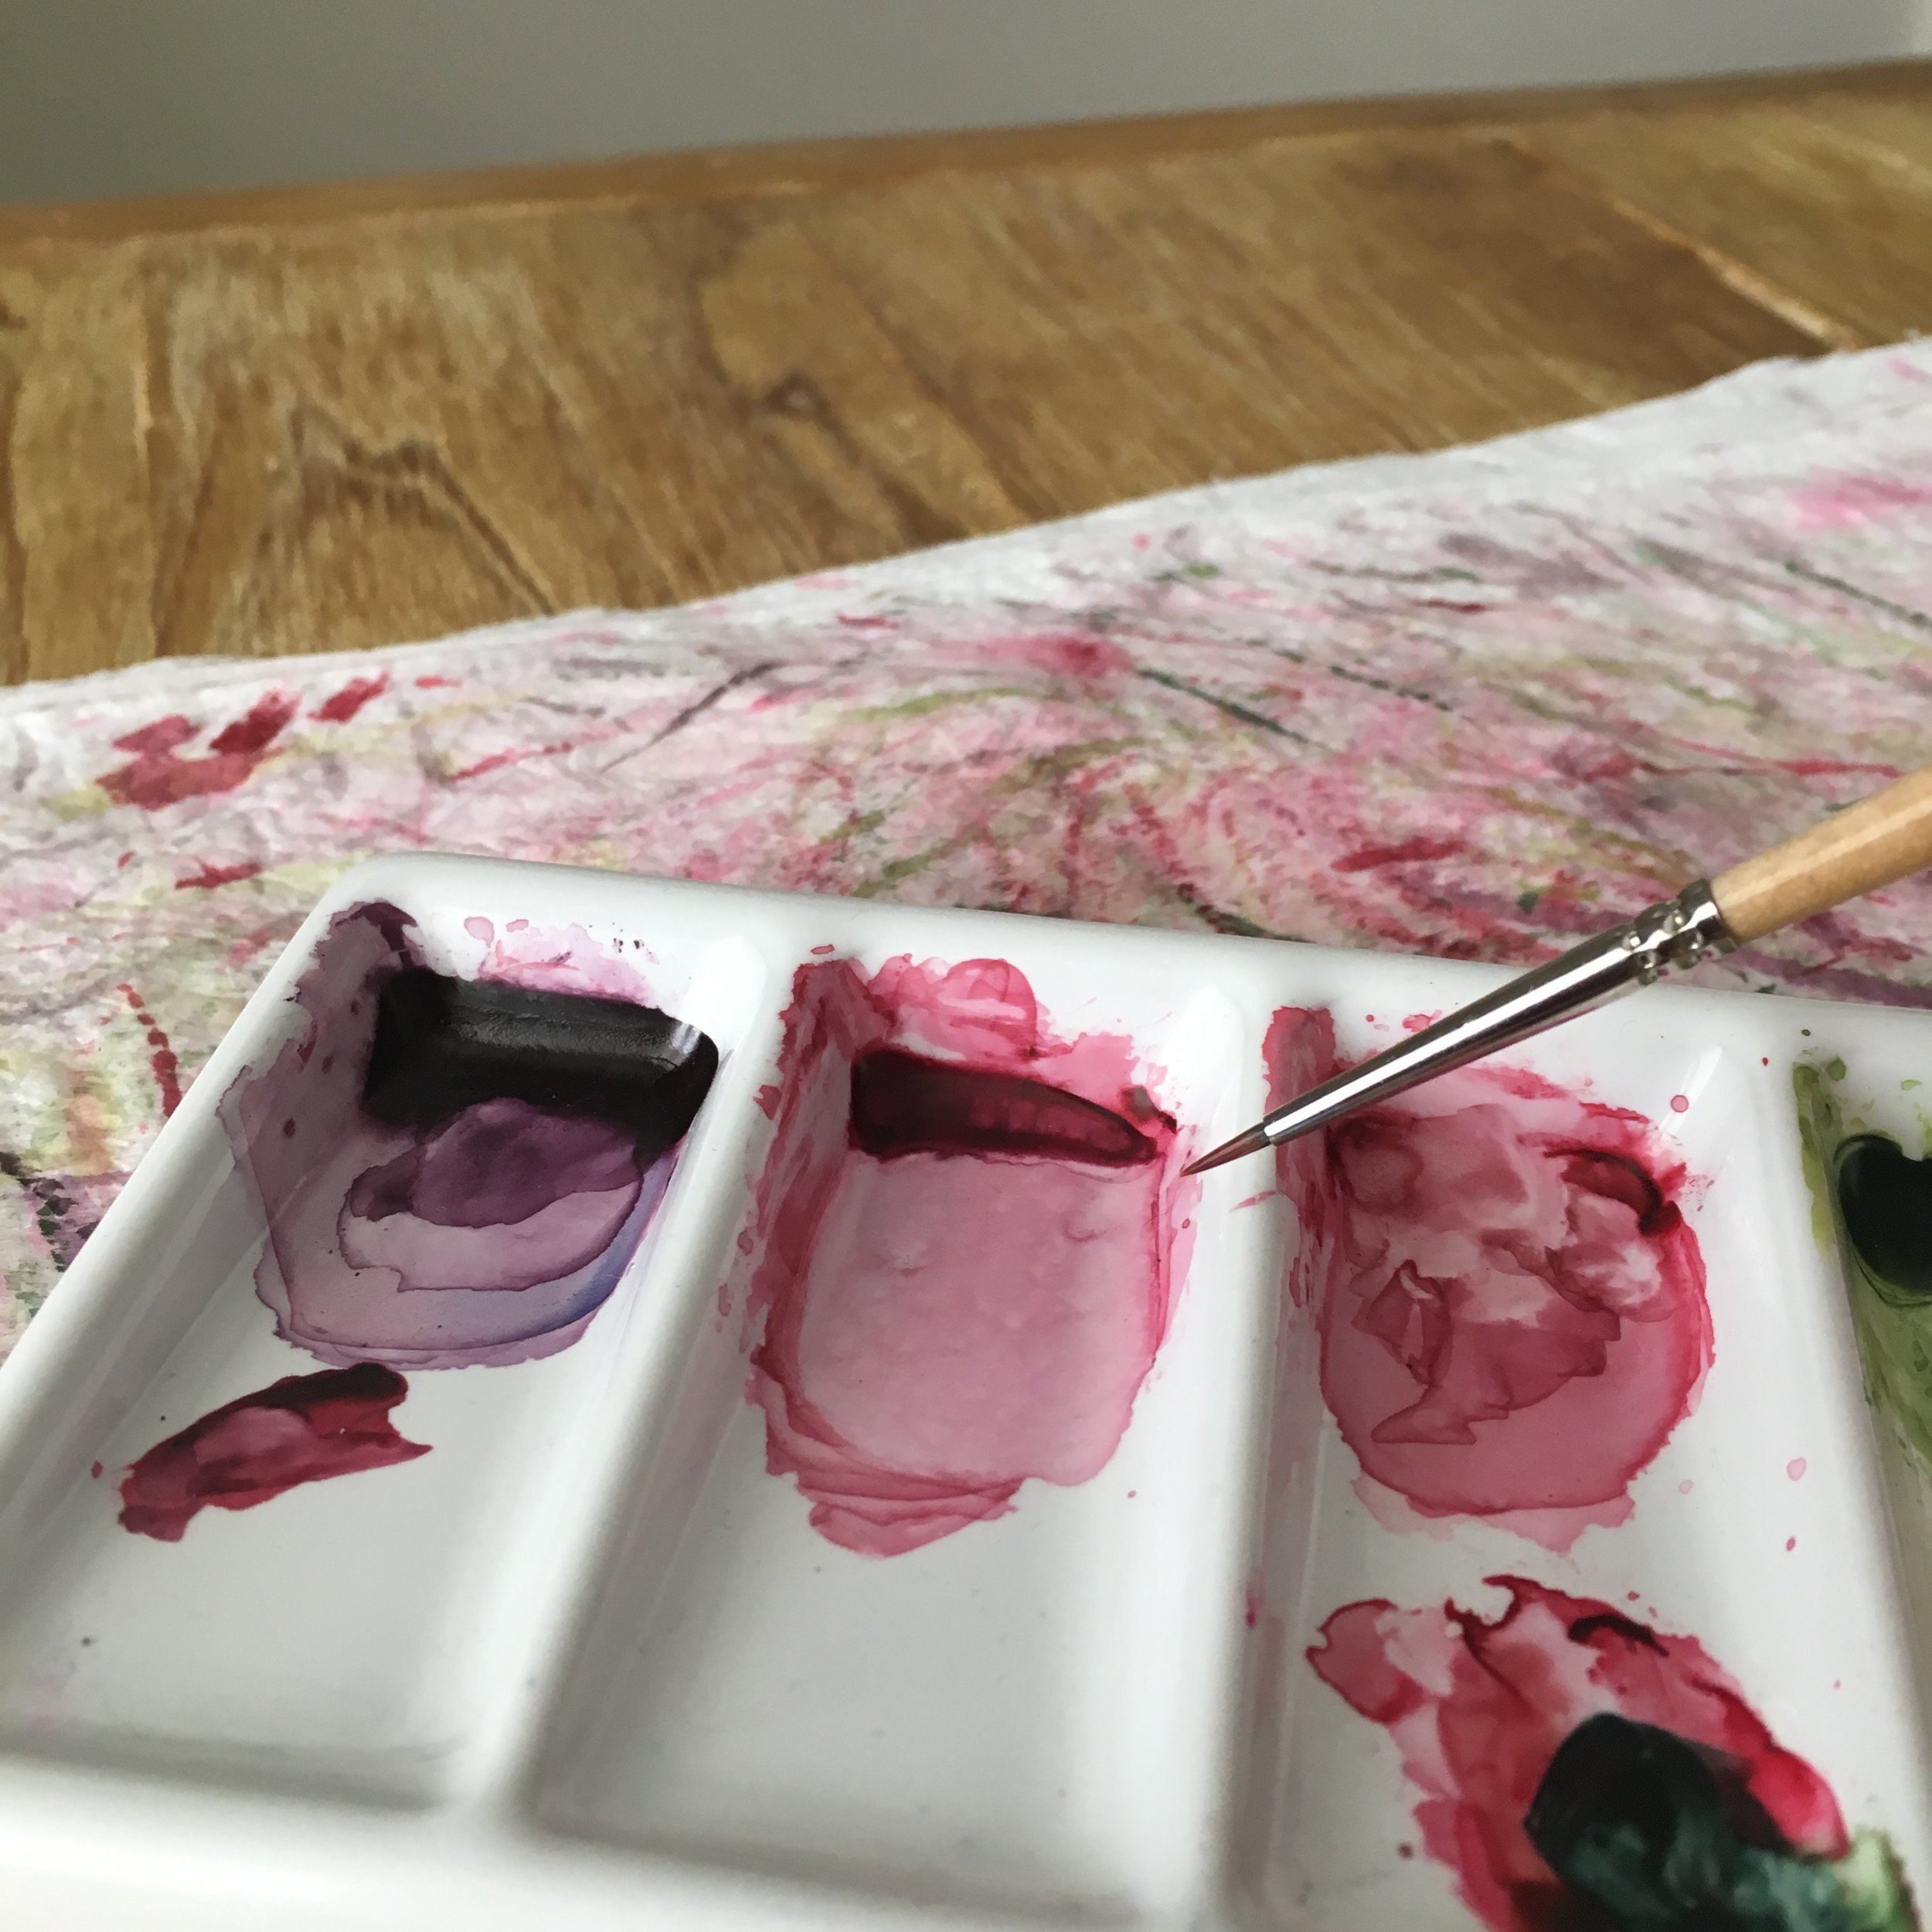
#6 - PRACTICE YOUR MIXING
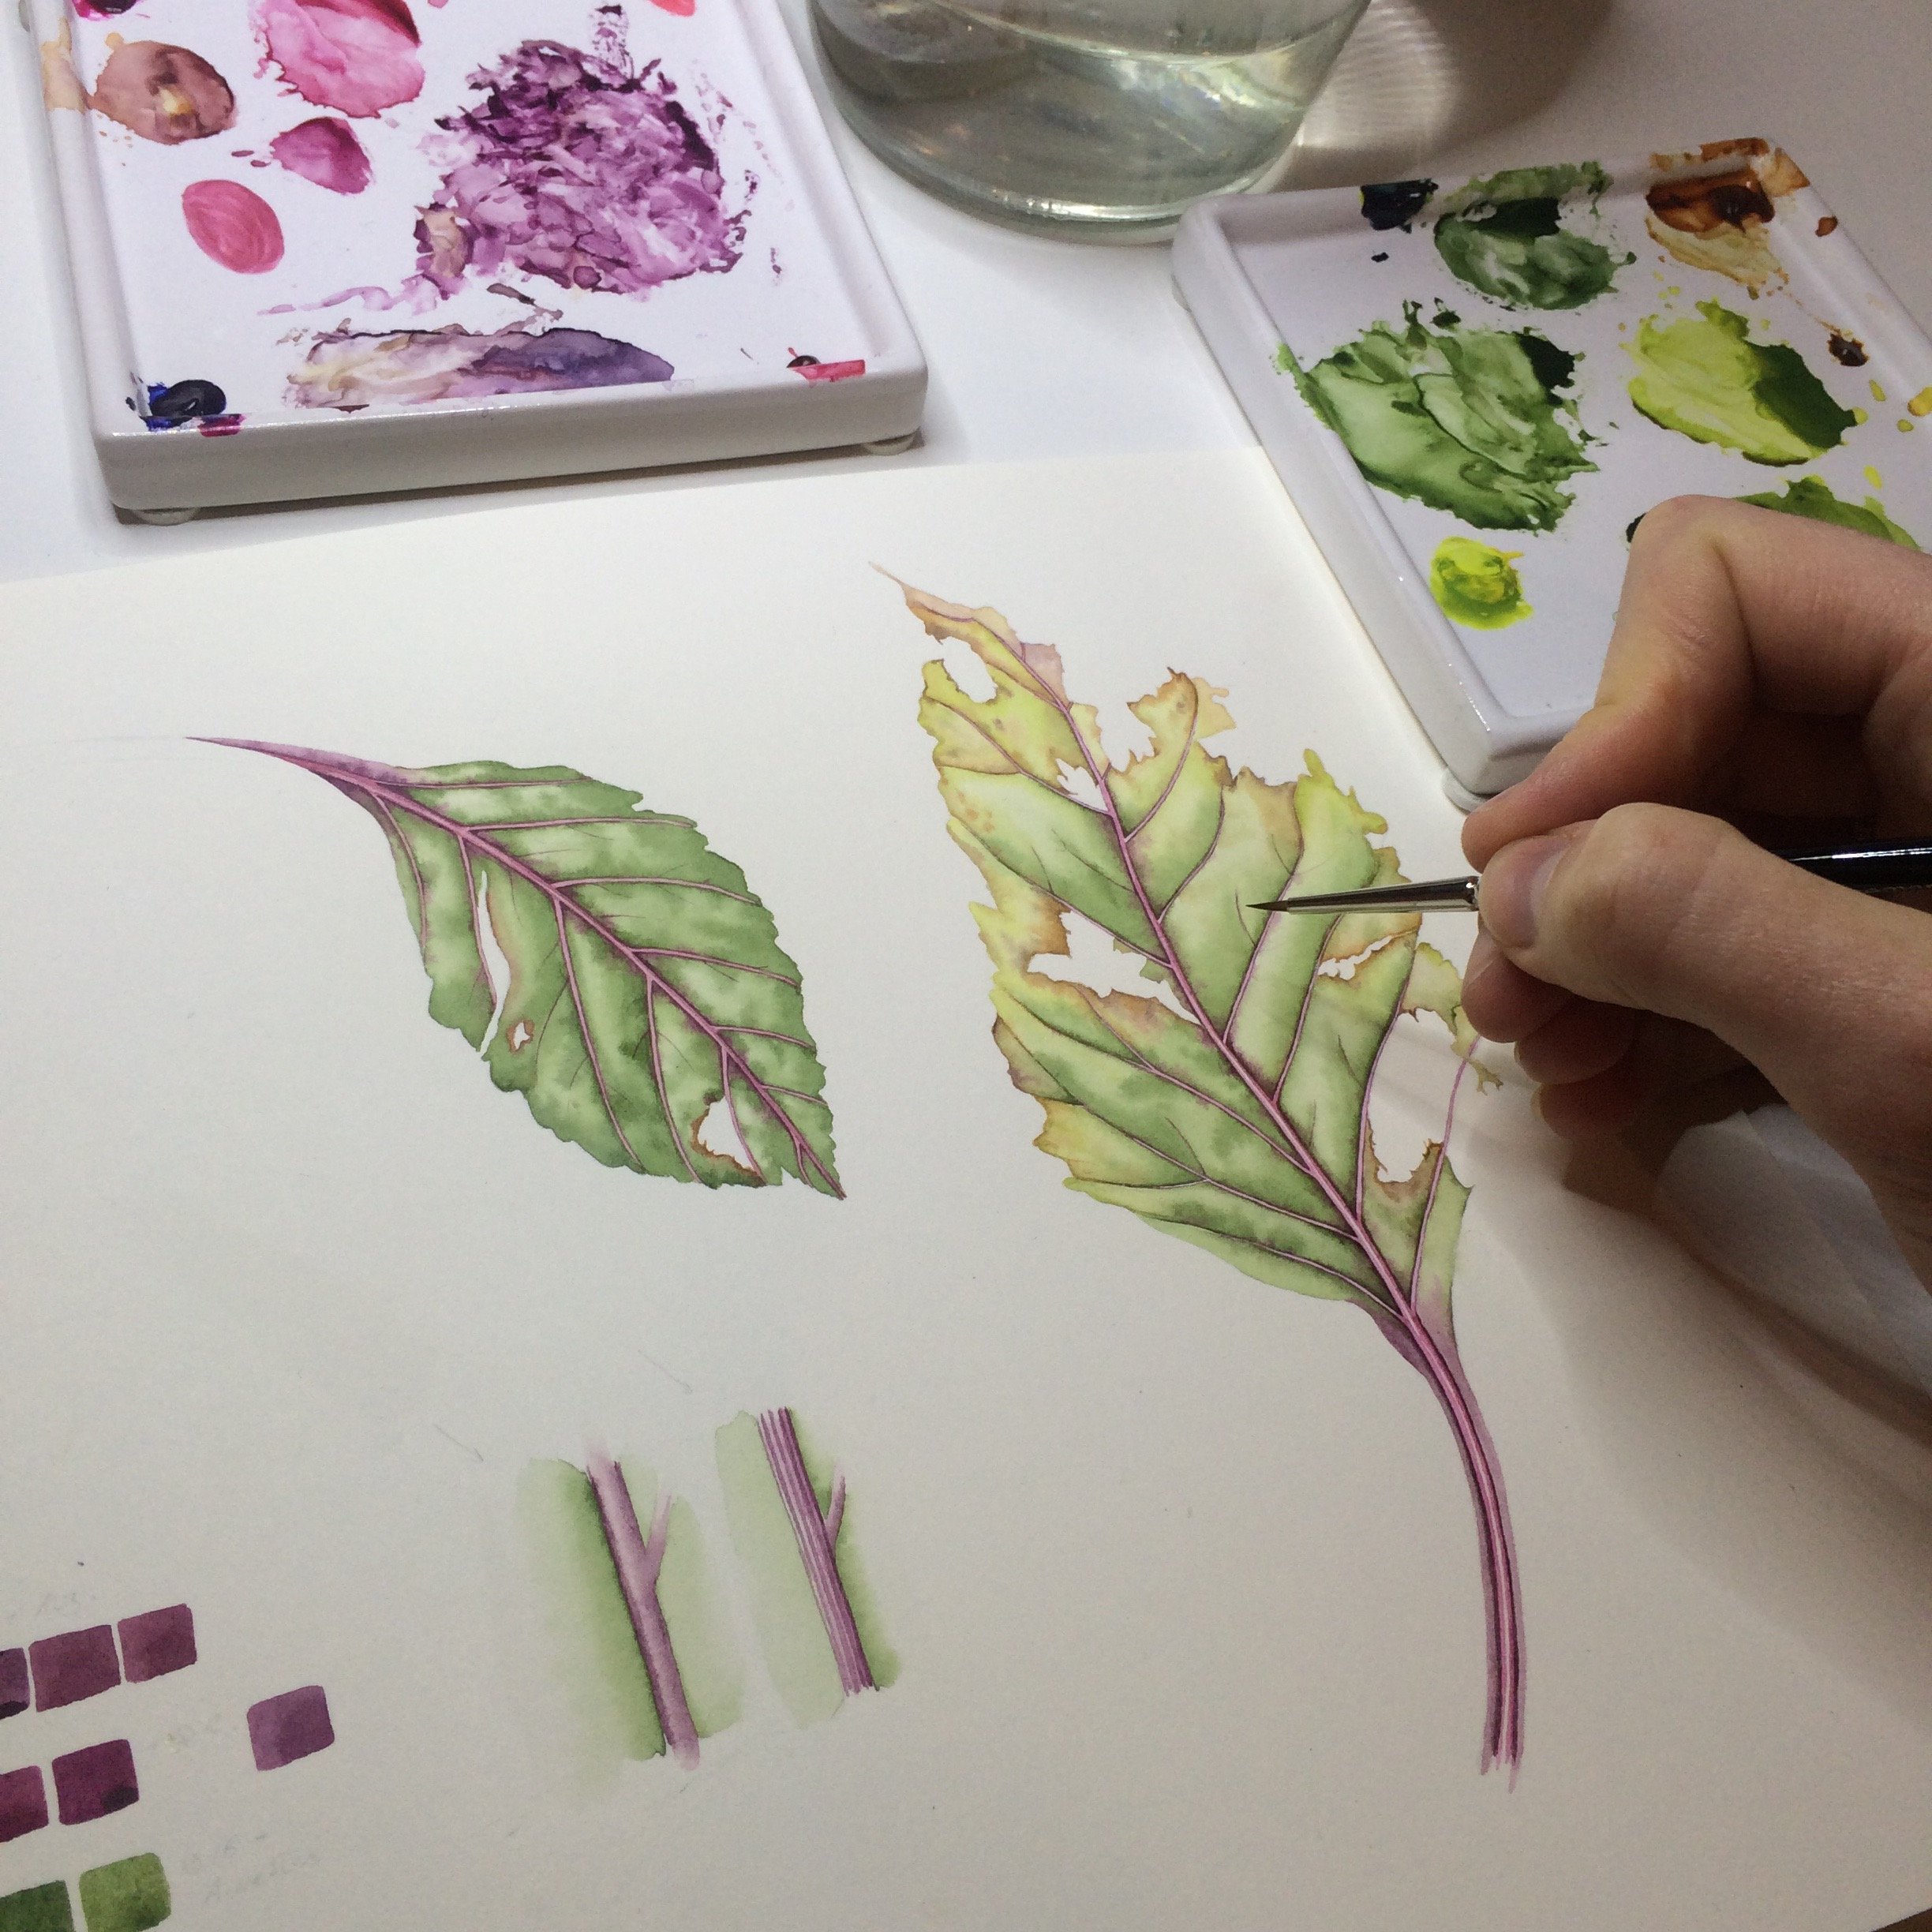
It is incredibly rare to have an object that is exactly the same colour as the tube of paint in your hand. You need to mix! I very, very rarely use paint directly from the tube. Choosing the right colour to use should be fun, so experiment and see what works. I still make it up to some degree as I go along.
Start by mixing two colours together, then as you get more confident you can add in a third. Be careful if your mix becoming ‘muddy’ though. To avoid muddy mixes, I never combine more than three pigments.
Record what you’re doing on a scrap of paper, or even better a sketchbook. If you don’t write down what you used you’ll soon forget that perfect mix you made!
#7 - LAYER YOUR WASHES - & LET THEM DRY
Watercolour is all about layers. Lay ‘thin’ washes (i.e. washes with more water and less paint) first, and then build them up on top of each other. Learn your techniques, such as ‘wet-in-wet’ and ‘wet-on-dry’, and experiment with these (there are lots of youtube videos you can watch for different techniques). The most important thing is to let each layer dry completely before applying another. Honestly, that’s key.
#8 - PAINTING WHITE
Your white paper is your white paint. There is no white watercolour paint. Forget about it. (Okay, there may be the occasional time you use a white paint to add details to watercolours, but for beginners - forget I mentioned it!). When you lay down your washes (as discussed in point #7), make sure you leave the area you’d like to be white free of paint. You’ll get better 3D effects, and your painting will glow - I promise! Let the paper shine through.
#9 - PAINTING BLACK
I often get asked how to paint black objects. I don’t own a black (or grey) tube of paint. I mix all my dark greys and blacks from other colours. Self-made black pigments have much more luminosity and bring more interest to a painting. I try and mix paints that I have already used in the painting together to make my black - it will unify the painting. You really need to experiment, and use a good amount of paint - but if you don’t believe me, try mixing Burnt Sienna with French Ultramarine Blue and seeing what happens!
#10 - PERSEVERE!
Whether you are completely new to painting overall, or simply new to watercolours, there will be a period of ‘Argh I have no idea what I’m doing!’. Don’t stop. I promise you, watercolours are the Best. Medium. Ever! You can get so many different results by using different techniques, and they are just lovely to paint with. Try practicing for an hour or so each day. Sitting down and painting has so many benefits for the mind and soul - it can be meditative, it can be an outlet for your emotions, it can bring you satisfaction and a sense of achievement, and it can leave you with a beautiful piece of art to brighten up your home or gift to a friend!

I hope my ten things I wish I’d known before picking up a watercolour brush will help you on your way. I love encouraging people to create art as I know the benefits that it can bring.
I’ll be writing more posts like these over the next few weeks and months. So if you’ve found it useful, sign up to my newsletter below to receive these, and other posts only for subscribers, straight into your inbox.