Floral Watercolour Painting: A Simple Guide for Beginners

Floral watercolour painting is a calming, rewarding way to connect with nature. It invites you to slow down, look closely, and enjoy the simple act of putting paint to paper.
I’ve been painting since I was a child, and studying botanical illustration since I was 18. I was drawn instantly to the way it combines art and science — careful observation with creative expression. That blend has stayed with me throughout my life, even as I went on to train as a doctor.
Now, as a botanical illustrator and teacher, I find myself returning again and again to this gentle art form. Not just for the beauty of the final painting, but for how the process itself supports our wellbeing. Sitting down with a brush in hand, even for a few minutes, can ease the nervous system, help us focus, and bring a quiet sense of joy.
In this guide, I’ll walk you through the materials I use, the simple steps I follow, and a few easy ways to start painting flowers in watercolour. Whether you’re completely new, returning after a break, or simply curious, you’re in the right place.
TABLE OF CONTENTS
How to Paint Flowers in Watercolour
2.1 Materials for Floral Watercolour Painting
2.2 Preparing to Paint
2.3 Basic Watercolour Techniques for Painting Flowers
2.4 Common Mistakes to AvoidYour First Floral Watercolour: Begin with a Simple Rose Petal (Step-by-Step Guide)
More Watercolour Flower Projects to Try
4.1 Paint a Freesia Bud
4.2 How to Paint a Watercolour Petal
4.3 Painting a Geranium + Correcting Mistakes
1. What is Floral Watercolour Painting?
Floral watercolour painting is the practice of using water-based paints to capture the shapes, colours, and delicate details of flowers.
It sits somewhere between traditional botanical illustration, which focuses on scientific accuracy, and expressive watercolour art, where softness and suggestion are often part of the style.
For me, it’s a way of slowing down and noticing the small details of the natural world: the curve of a stem, the texture of a petal, the pattern of light and shadow.

Painting flowers in watercolour doesn’t need to feel complicated or intimidating. You don’t need to know how to draw perfectly. You don’t need lots of materials.
In fact, it’s a lovely place to start with watercolour because flowers are so forgiving. They come in all shapes and sizes. No two are exactly the same. And there’s beauty in the imperfections.
This kind of painting is as much about looking as it is about painting, learning to see shape, colour, and light more closely.
Over time, this attention builds skill, but also calm. It’s a quiet creative practice that can feel both grounding and joyful.
2. How to Paint Flowers in Watercolour
Before you start painting, it helps to have good materials, a simple setup, and a calm environment. In this section, I’ll walk you through the tools I use, how I prepare to paint, the basic techniques I return to again and again, and a few reminders for when things feel tricky.
Watercolour doesn’t have to be rushed or complicated. With a little preparation and a steady pace, you can enjoy the process and watch your skills grow over time.
2.1 Materials for Floral Watercolour Painting
Good materials make a big difference when you’re starting out with floral watercolour painting. You don’t need a lot to begin, but choosing good-quality paints, paper, and brushes will help you enjoy the process and get better results.
Here are the materials I use and recommend for painting floral watercolour:


Watercolour Paints
Look for artist-quality (or professional-grade) paints. They have stronger pigments and are easier to work with. I often use Winsor & Newton Professional Watercolours, starting with just a few colours and building over time.
Brushes
Choose brushes made for watercolour painting. I use synthetic brushes from Rosemary & Co, they hold their shape well and are a kind option if you prefer not to use animal hair.
A small round brush is useful for details, and a larger round brush is good for washes.
Watercolour Paper
Regular paper won’t work well for watercolour. Look for watercolour paper at least 300gsm (140lb) in weight, so it doesn’t buckle when wet.
I use Arches watercolour paper, hot pressed for smooth detail work, or cold pressed for more texture.
Other Essentials
A hard pencil (HB or 2H) for light sketching
A soft eraser that won’t damage the paper
A palette for mixing colours
Two jars of clean water (one for rinsing, one for mixing)
Paper towel or cloth for blotting your brush
My Go-To Watercolour Supplies
Join my Artist’s Journal newsletter and I’ll send you the list of trusted brushes, paints, and paper I use in my botanical work.

2.2 Preparing to Paint
Before you begin, it helps to take a little time to set up both your space and your materials. Creating a calm, comfortable environment makes it much easier to start painting regularly, even if you only have a few minutes.

Setting Up Your Space
If possible, try to find a quiet corner of your home where you can leave your painting things out. Somewhere away from the busyness of daily life. Having a dedicated space means you’re more likely to sit down and paint without needing to set everything up from scratch each time.
Good light makes a big difference. Natural light from a nearby window is ideal. If you’re right-handed, having the light come from your left can help avoid casting shadows over your work (reverse this if you’re left-handed). If natural light isn’t available, a daylight bulb is a helpful alternative.
Most importantly, create a space that feels peaceful and comfortable for you. This might be as simple as clearing your table, making a cup of tea, or adding a small candle while you paint.
Stretching Your Watercolour Paper
If you’re using loose sheets of paper, you might want to stretch them before you begin. This helps keep the surface flat when you’re working with lots of water.
I soak the paper, tape it to a wooden board with gummed tape, and leave it to dry completely before painting.
You can follow my step-by-step guide here: How to Stretch Watercolour Paper
Choosing Your Flowers
You don’t need anything fancy to start.
A single flower is often perfect. I like to choose flowers from the garden, a walk, or a simple bunch from the florist.
Spend a few minutes looking closely.
Notice the shape of the petals, how the leaves curve, or where the shadows fall. This quiet observation is part of the painting process.

Planning the Composition
A simple arrangement usually works best, especially when you’re starting out.
Try sketching a few placement ideas in pencil before you begin. Leaving some space around the subject helps the painting feel light and open.
Note: I cover this process, from stretching paper to setting up your space, in more detail inside my Fundamentals course, available through The Membership.
2.3 Basic Watercolour Techniques for Painting Flowers
Watercolour is a beautiful medium, but it can feel unpredictable when you’re just starting out. These are the techniques I return to again and again in my own practice, and the ones I teach in my beginner lessons.
You don’t need to master everything all at once. Each of these skills builds with time, and painting flowers is a lovely way to explore them gently.


Light Sketching
Start with a soft pencil and sketch the main shapes lightly, just enough to guide you when you begin painting. Try not to worry about perfection. Think of it more as a way to place your subject on the page and find its general structure.
First Wash
Begin with a light wash of colour. I usually wet the area first with clean water, then drop in the first colour while the paper is still damp. This lets the paint flow softly and creates gentle blends, perfect for the first layer of petals or background tones.
Building Layers
Once the first layer is dry, you can start to build form and depth by adding more colour. Let each layer dry fully before adding the next, this keeps the colours clean and avoids muddiness. Pay attention to where the light is coming from, and slowly build shadow where needed.
Adding Details
When the main shapes are finished, you can begin adding finer details like petal veins, shadows, or soft edges. I often use a dry brush technique for this, with very little water on the brush to give a sharper line or textured edge.
It can help to step back from your work now and then to see where a little contrast or definition might be useful.
2.4 Common Mistakes to Avoid
Using too much paint too soon. Start light and build colour gradually.
Not letting layers dry. Rushing can cause colours to run together or lift.
Overworking the paper. Try to avoid scrubbing or going over the same spot too often.
Losing your light areas. Remember to leave some white of the paper as highlights.
Not observing closely. Spend time looking at the real flower, not just your sketch.
Prefer to see these techniques in action?
I teach all of them in real-time, step-by-step lessons inside The Membership. It’s a calm, supportive space for learning botanical watercolour.
Join the waitlist to be notified when doors open!
3. Your First Floral Watercolour: Begin with a Simple Rose Petal (Step-by-Step Guide)
One of the best ways to begin exploring floral watercolour is to start with a small, achievable project.
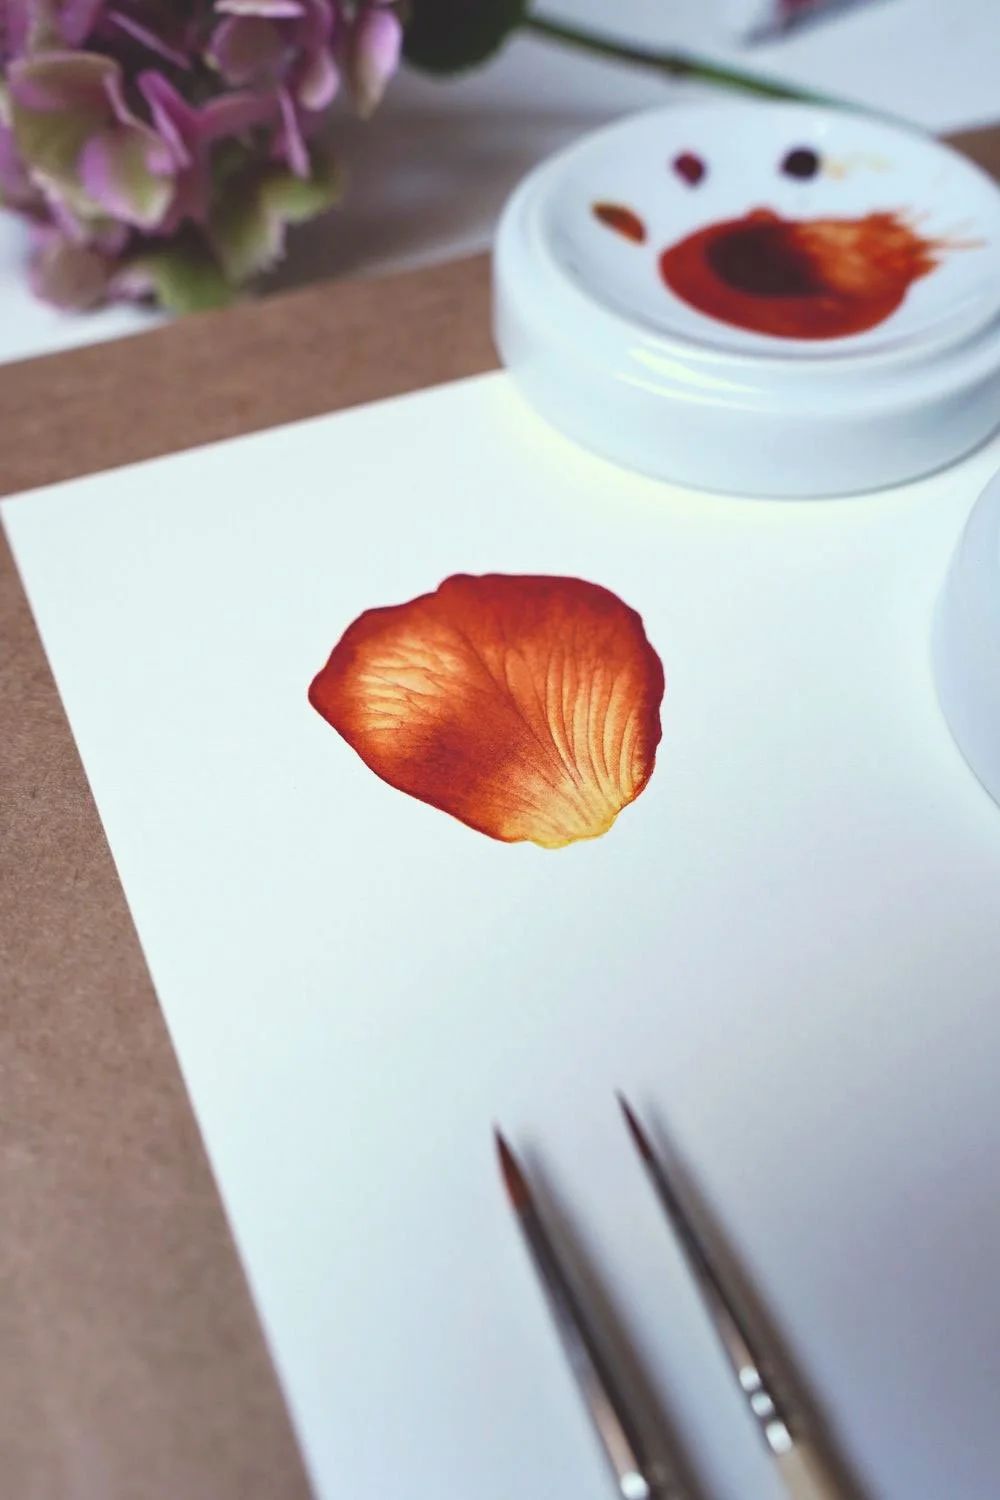
I’ve created a free step-by-step guide showing you how to paint a single rose petal — a small, focused project that’s perfect for beginners.
This tutorial will walk you through everything you need to get started:
Setting up your space
Choosing the right materials
Drawing and transferring your design
Painting in layers using simple techniques
Adding delicate details
It’s an easy, approachable introduction to the process I use in all my botanical work. And by the end, you’ll have a finished painting of your own.
Ready to begin your first floral watercolour creation?
Download the free Rose Petal Painting Tutorial and follow along with the step-by-step video tutorial.
4. More Watercolour Flower Projects to Try
Once you’ve finished the rose petal project, or if you’d like to try something a little different, I have a few step-by-step video tutorials available on my YouTube channel.
These are all beginner-friendly, and designed to help you practise key techniques like painting petals, layering colour, and adding detail.
4.1 Paint a Freesia Bud (Beginner Project)
This is a lovely, simple project to try next. The video guides you through every step, and there’s a free reference drawing you can download to help you get started.
Watch the tutorial below:
4.2 How to Paint a Watercolour Petal (Step-by-Step)
If you’d like to focus on technique, this video shows you how to paint a single petal. Perfect for practising before starting a full flower.
Watch the video below:
4.3 Painting a Geranium + Correcting Mistakes
In this video I show you the steps I take to paint a full Geranium flower with watercolours, following on from my step-by-step video of a petal study.
I demonstrate the wet-on-wet watercolour technique to build up depth of colour, as well as the dry brush technique, to add in fine detail on top of my washes.
Watch the tutorial below:
Looking for more?
I teach full-length courses and step-by-step lessons inside The Membership, a calm, supportive space for learning botanical watercolour at your own pace.
5. Frequently Asked Questions
How much time do I need to paint?
You don't need a whole afternoon to enjoy watercolour painting. Even short sessions can be enough to make progress.
I often encourage students to paint small studies or practise shapes if they are short on time. A warm up watercolour exercise can be done in 10 minutes, a simple petal study can be done in 20–30 minutes, while larger paintings might take a few sessions.
Do I need to stretch my watercolour paper?
Stretching your paper helps stop it from buckling when it gets wet. It’s not essential for small paintings, but I always stretch mine. You can read why and how I do that here: How to Stretch Watercolour Paper
Can I paint from a photo?
Yes. I often take a photo of the flowers I’m working with. It helps me capture the light and composition, especially if the flowers wilt or change over time.
However, we do need to be mindful of the limitations of working from photographs, such as the accuracy of colour replication and capturing of details.
What if I make a mistake?
Mistakes happen in every painting. Watercolour can be tricky to correct, but you can lift out some paint with a clean, damp brush.
Often it’s best to pause, let the paint dry, and decide if you need to adjust. I also love my trusty Magic Eraser.
What materials do I need to start?
Good paints, brushes, and watercolour paper make a big difference.
I share a full materials guide here: Download a list of my favourite materials for floral watercolour art.
How do I draw simple watercolour flowers?
The best way to learn is by following a guided project. I’ve created a free step-by-step tutorial that will show you exactly how I draw and paint a rose. A simple, beautiful project that’s perfect for beginners.
→ Get the free Rose Petal Painting Guide here
How do I stop my colours from getting muddy?
Make sure that you use clean water, let your layers dry before adding more paint, and use fewer colours when you mix - a maximum of three!
Do I need to draw before I paint?
I like to make a light sketch before I start painting. It helps me place the shapes well.
I draw onto cartridge paper first to avoid any harsh rubbing out on the delicate watercolour paper.
Can beginners try floral watercolour painting?
Yes, this is a lovely way to start learning watercolour painting.
Painting flowers gives you time to slow down, practise the art of observation, and enjoy the process of using watercolour without pressure.


